The Tale of Taliesin

After a good few months of knitting, charting, testing, tech-editing... Taliesin is finally available! taliesin-2

This shawl has quite a long back story, and I thought I would tell some of it here... the design is named after the Welsh poet Taliesin, but I will stick to prose!

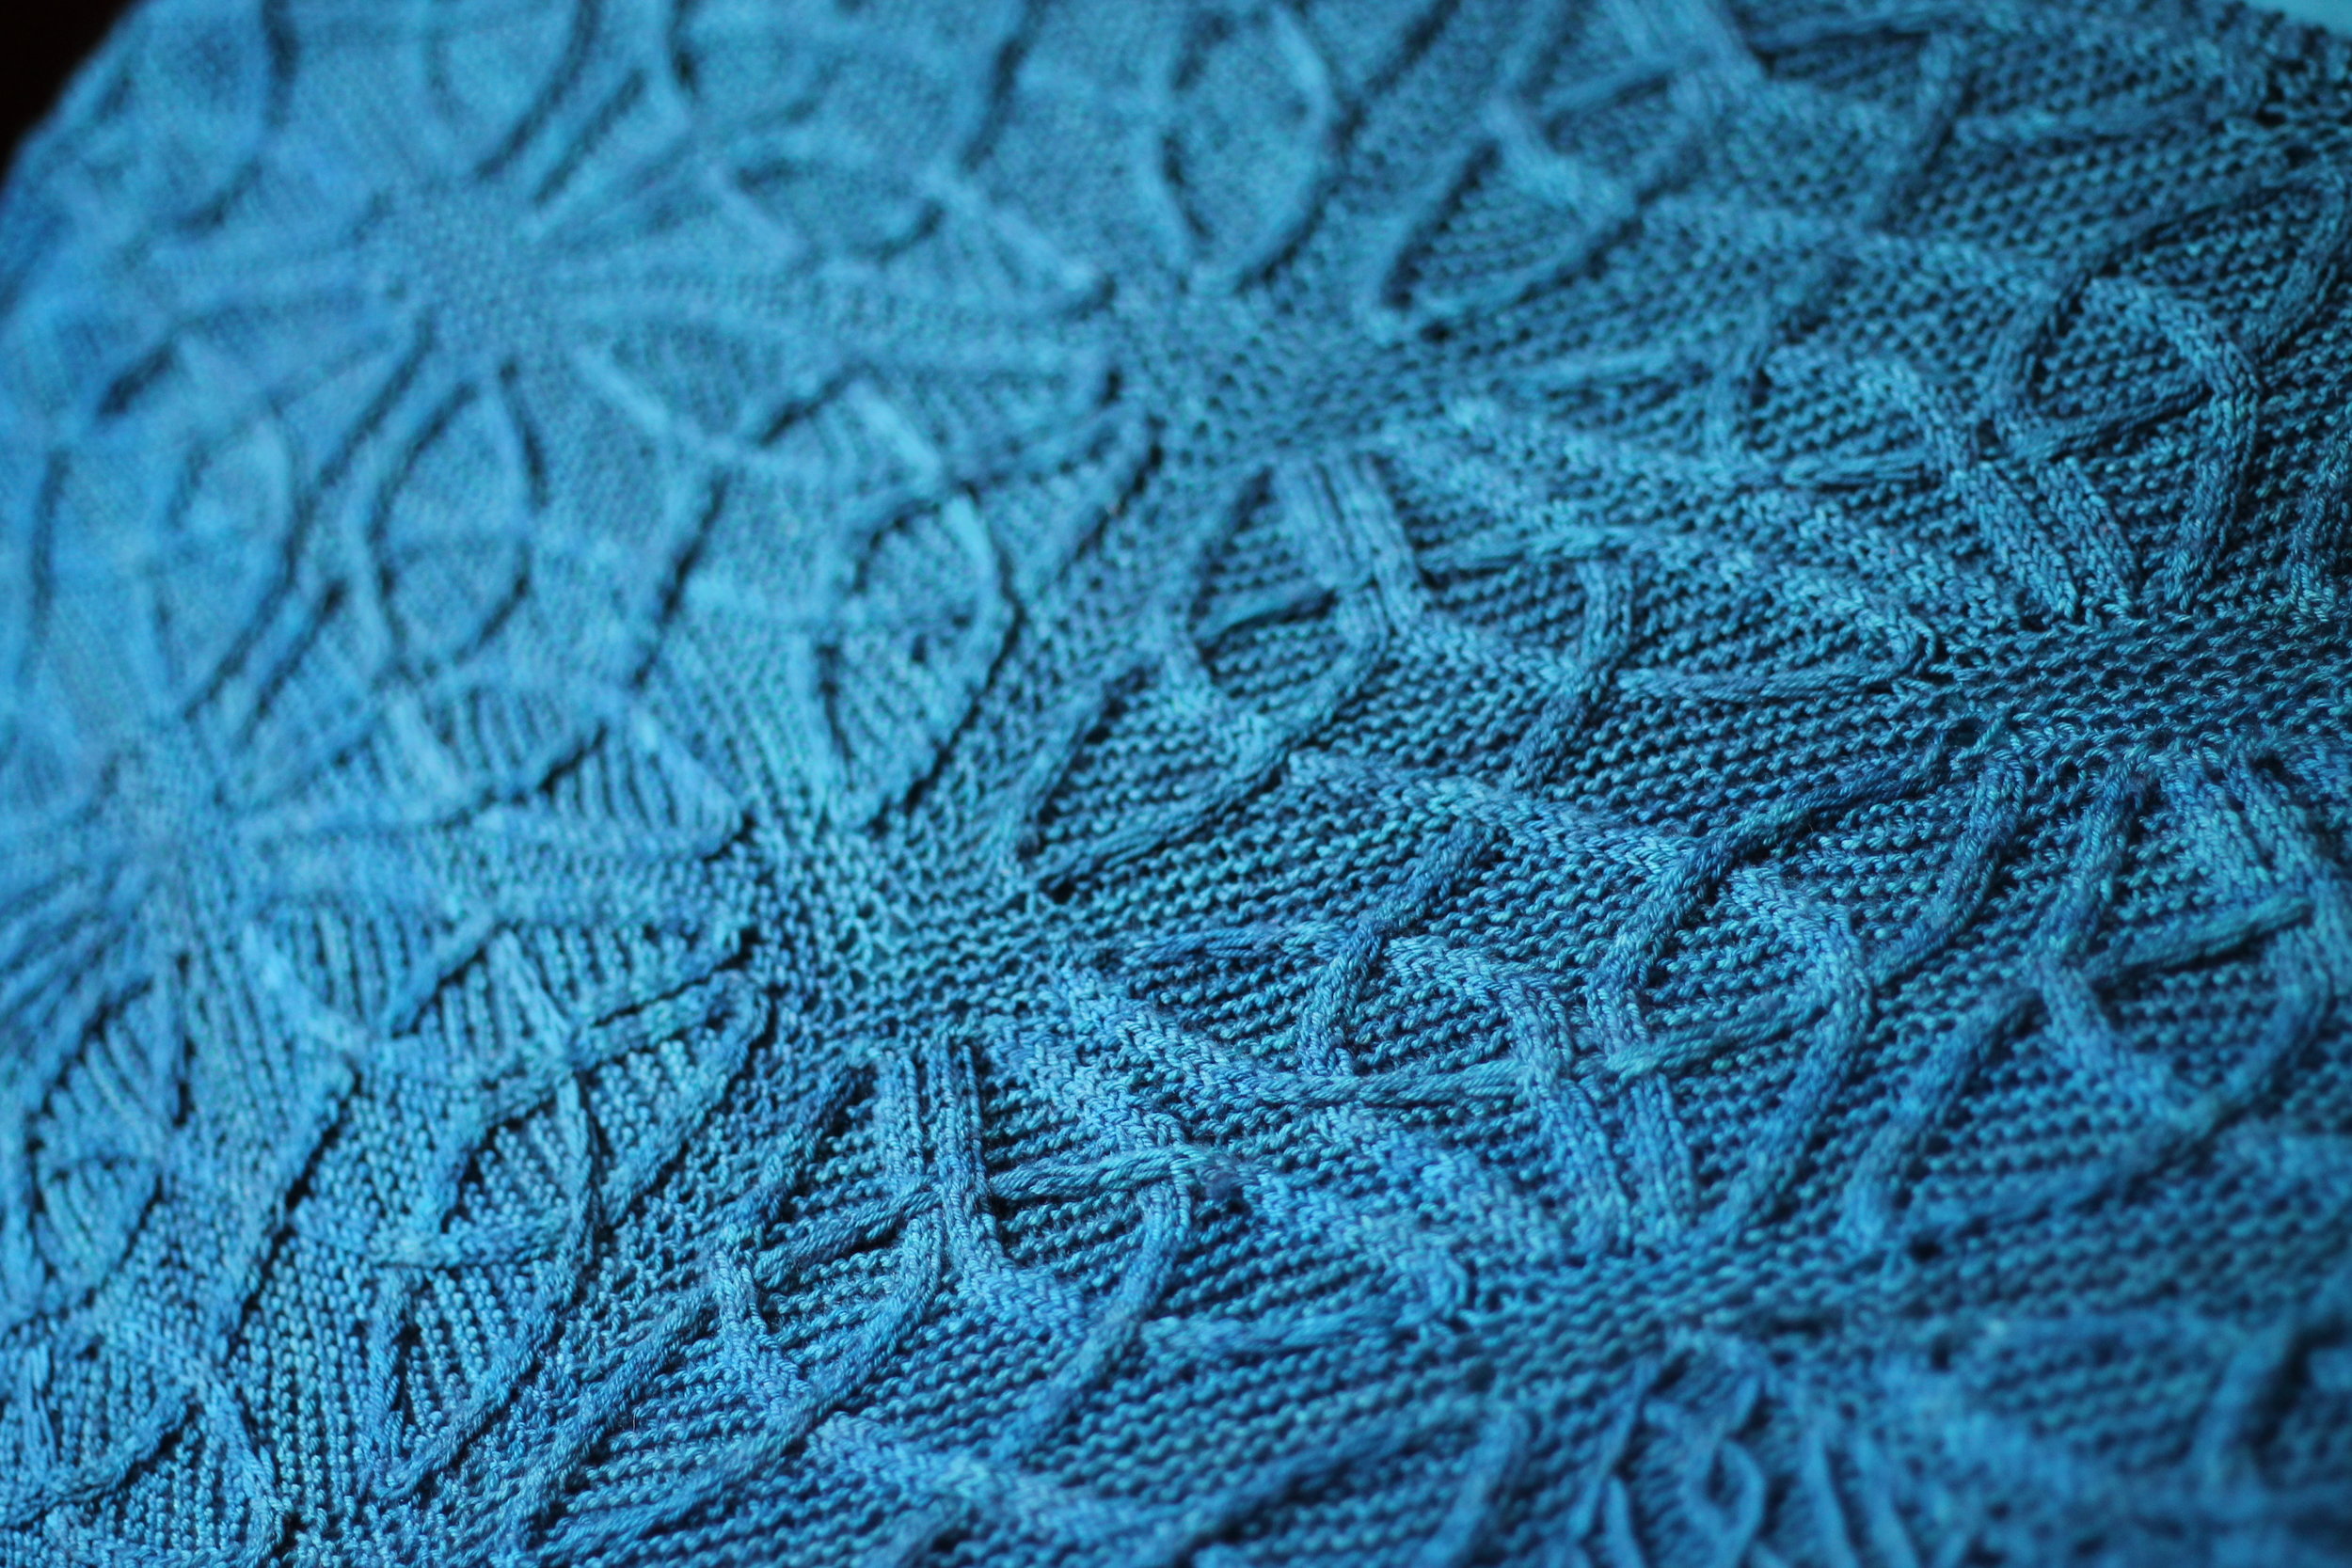
It's probably apparent from even a quick glance at some of my past designs that I'm completely obsessed with Celtic knotwork. I learnt how to draw it from the marvellous writings of George Bain (a truly wonderful artist, who inspired so many people with his books) and Aidan Meehan, and I love how the form is underpinnned with mathematical, grid-like structures, yet also allows for a lot of creativity. I don't consider myself an artist and I'm not very good at drawing, but I can invent my own Celtic knots with relative ease, and I find it very relaxing.

Here are some early sketches of knotwork that I made back in April, with a view to turning them into a cabled shawl... originally my design was a little different.

IMG_0405

This was what my original swatch looked like:

Spot the mis-crossed cable!

I decided the different cables were just a bit too fussy, so I went back to the drawing board and simplified things a bit.

IMG_0408

IMG_0409

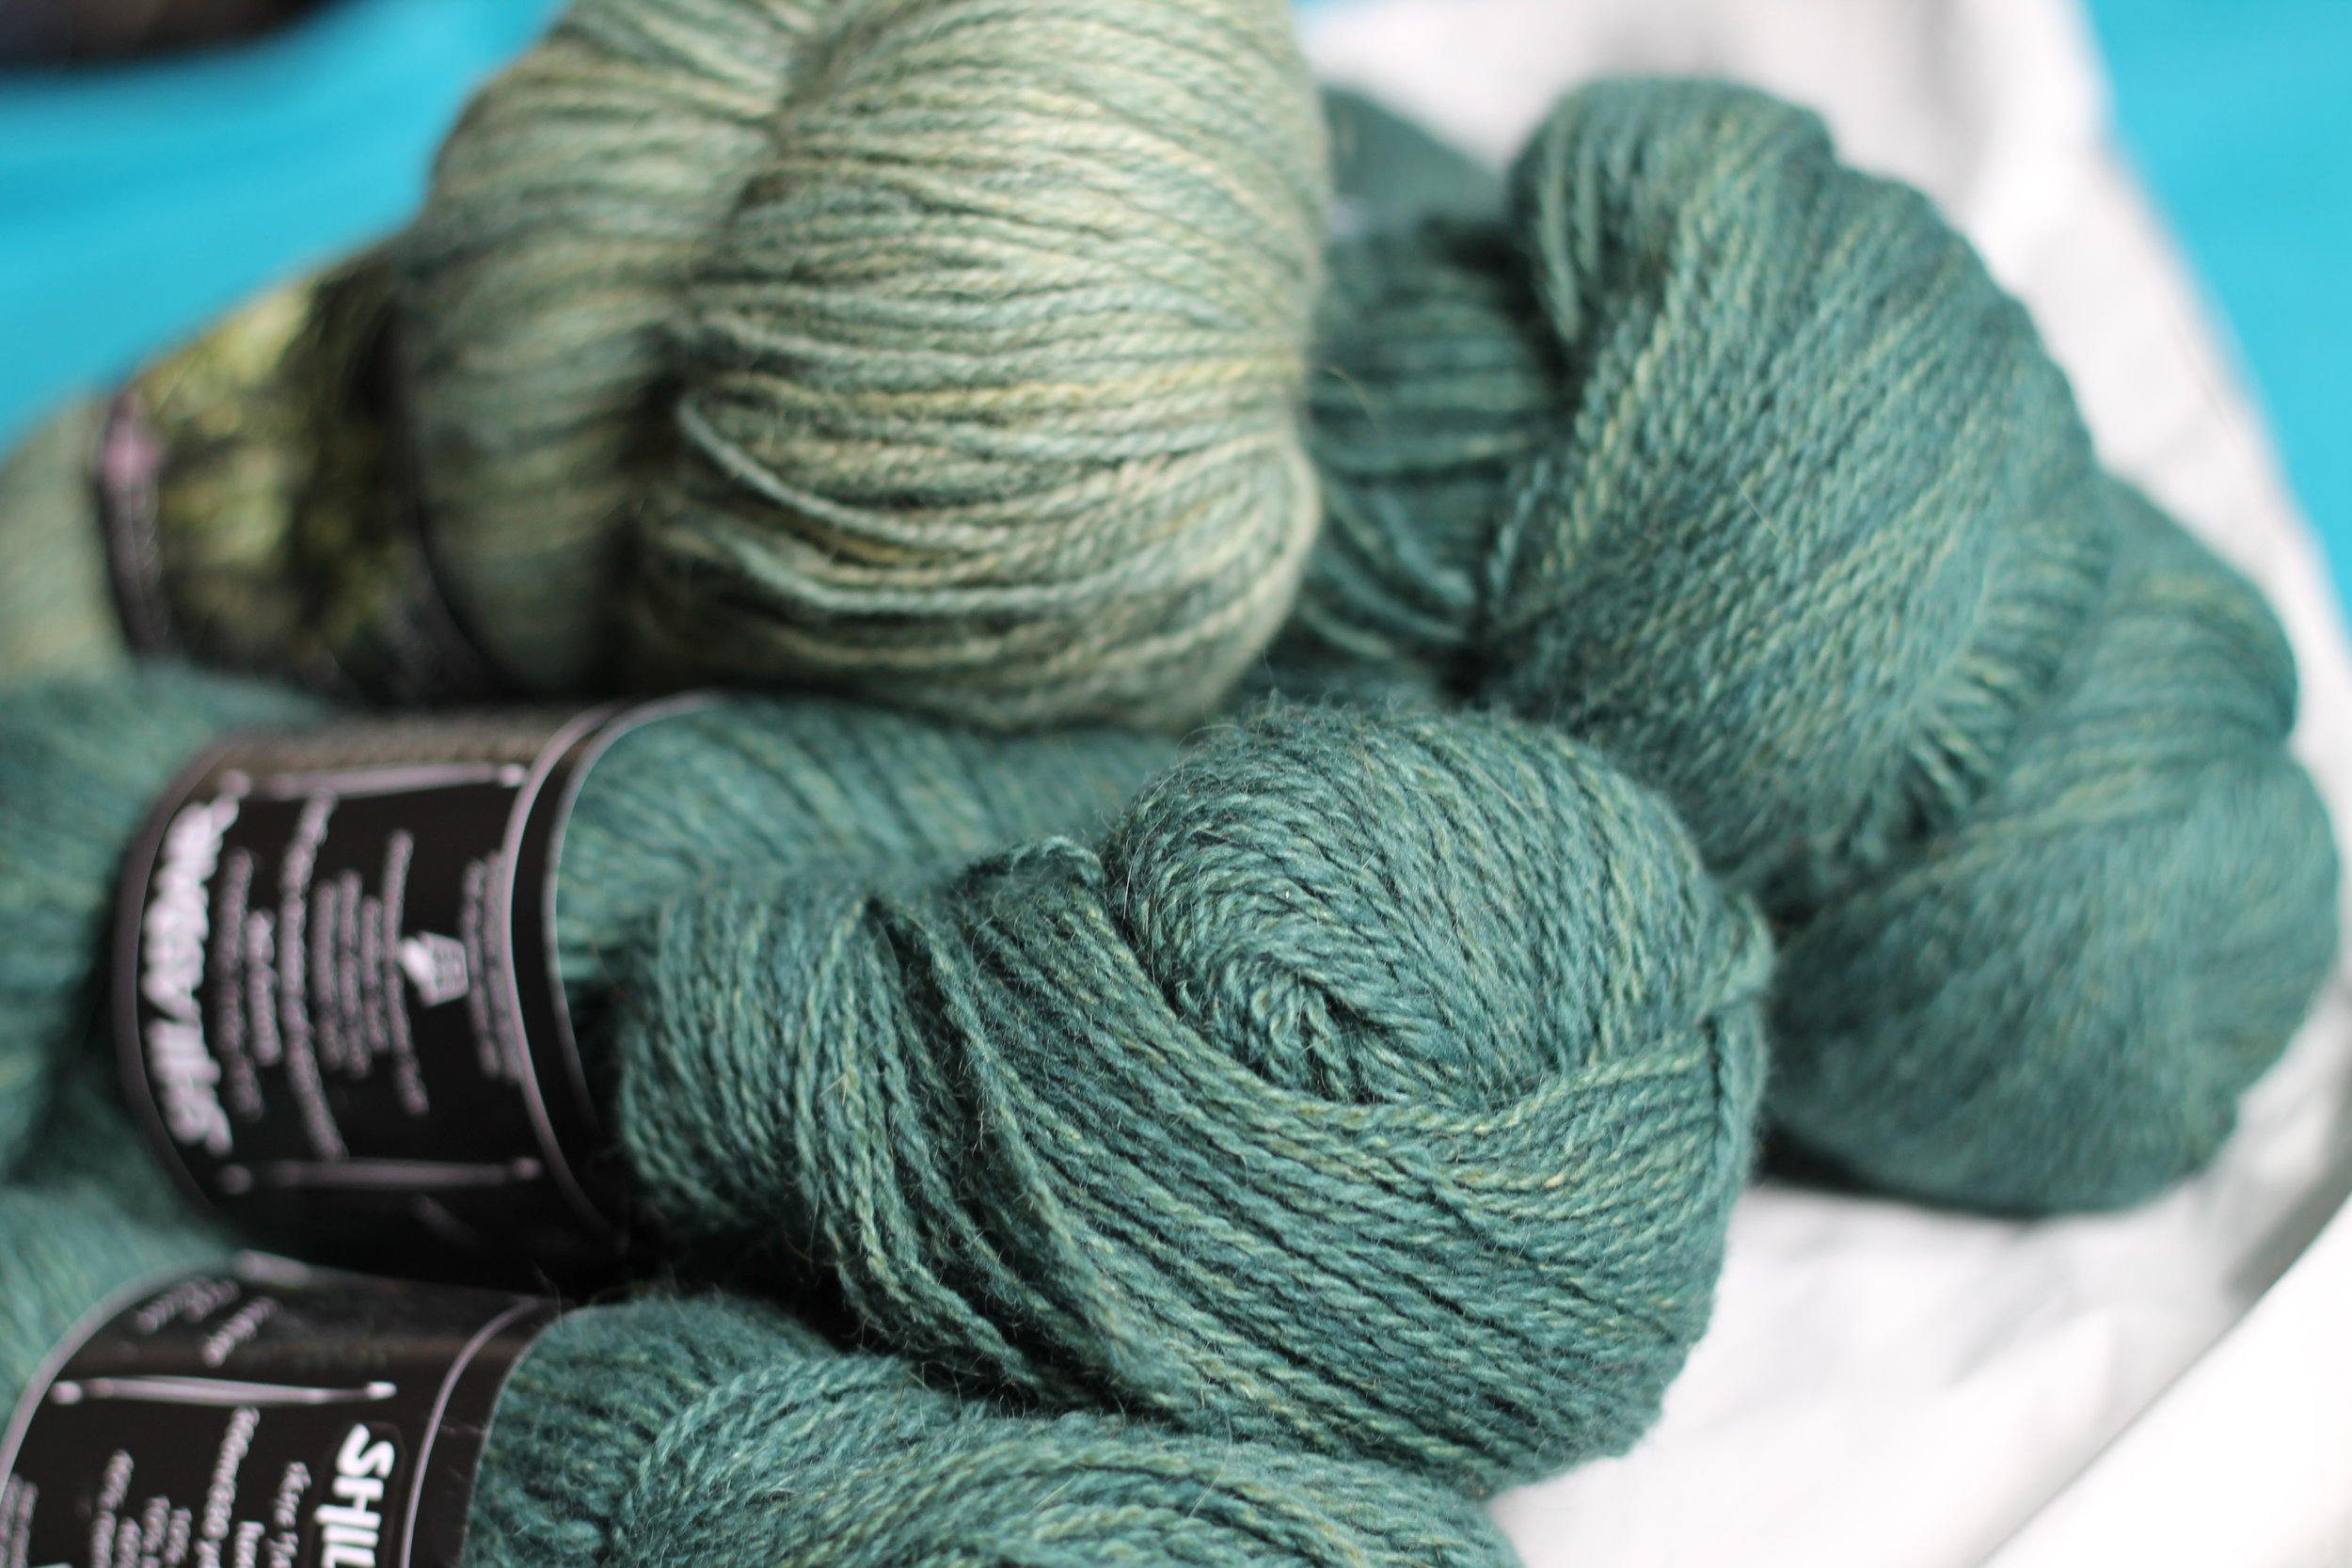
I eventually ended up with the final design, and set about knitting it up with a beautiful skein of Old Maiden Aunt yarn that I got at the Edinburgh Yarn Festival in March. However, disaster struck when I ran out of yarn halfway through the cast-off!

Every knitter's nightmare...

Perhaps it was a blessing in disguise though, because the shawl was a little bit on the small side for my tastes, and I wanted to enlarge it, so I got another skein. Even though it was from the same dye lot, the colours seemed a little different, and I was worried it would be obvious, so I striped the skeins a bit and in the end it looked fine.

Here it is blocking:

P1010947

This is where things get decidedly bizarre. Somewhat foolishly, given my track record of losing handknitted objects, I decided to wear this shawl to the Beltane Fire Festival on April 30. At some point during all the revelry, I must have dropped my shawl, and didn't notice until after the event had finished and the security guards were shepherding everyone down from Calton Hill, where the event takes place. I tried my best to get back onto the hill, so that I could look for the shawl, but security said no. They said my best bet was to check with the council next day, as they'd be sending in cleaners to clear up the hill.

Now, I had a sinking feeling in my heart that I would never see my shawl again. It was about 3 am by this point, pitch dark, and I was making my way home. The route back to my flat goes past one of the small roads that leads to the top of the hill. All the roads were blocked off with large metal gates, but I happened to notice that there was no guard on this particular road. So, I might have found myself squeezing past that gate and clambering up a pitch dark hill at 3 am in search of a hand-knitted shawl. Yes, perhaps not the most sensible or safe thing to do. But I was desperate to find it, and also reasonably sure that the only people still left up there would be security guards, and not anyone who would try to murder/rob/violently assault me. So, up I went.

I got up to the top of the hill and was completely disoriented. I couldn't even remember where I might have been standing when I dropped the shawl. So I picked a spot, figuring I had to start somewhere, got out my phone, switched on the torch function and began sweeping it along the ground. Within approximately 10 seconds, I spotted something like knitted fabric. I think I may have actually shouted, "NO WAY!" in my disbelief, but yes, it was my shawl!

It still boggles my mind how it was that, by complete fluke, I happened to pick pretty much exactly the correct spot where I had dropped my shawl. A bit of Beltane magic, maybe, or just sheer luck. Either way, I don't think I've ever been so happy to find something that I thought was lost for good!

Greens and blues...

Today, this bundle of loveliness arrived in the post... Shilasdair Luxury DK in gorgeous greens

Yes, that is a whole pile of Shilasdair Luxury DK in the most beautiful contrasting shades of green, and, yep, I know I'm a lucky girl to receive stuff like this in the mail on a regular basis! It's one of the most fun aspects of what I do. Unfortunately I can't give any details on what this heavenly stuff will become, but you'll hear about it here eventually, I promise! Or, get on my newsletter and you'll be the first to hear once the veil of secrecy has been lifted...

I recently got a beautiful new camera and I've been obsessively photographing everything within sight. I'm still getting to grips with all the settings, but it's so much fun! And it's arrived just in time for my new self-published pattern, Taliesin, which should be released in the first or second week of July.

Cables, cables and more cables!

This pattern is still in the test-knitting/editing phase, but if you'd like to find out as soon as it's released, you can either sign up for my newsletter or drop me a PM on Ravelry. I also have a new Ravelry group for my designs too - come and join if you'd like to discuss my patterns - or pretty much anything else!

Knit Now, issue 22 - Arianwen cardigan

I'm really delighted to have a design featured in the current issue (no. 22) of Knit Now magazine!

Image

Arianwen is a waterfall cardigan, knitted in Rowan Fine Lace - I love the versatility of lace-weight cardigans, and how they're great for providing a bit of extra warmth and layering, whilst still being thin enough to fold up in a bag when not needed. Whilst I'm a big fan of waterfall cardigans, and love wearing them hanging open for a loose, casual look, I dislike having the wrong-side of a knitted pattern on display, so I deliberately chose a reversible cable for the front panels of the cardigan.

Image

It's a little tricky to see from the magazine photos, but the sleeves feature a cuff with a matching cable design... here's a close-up of the cuff from my original sample:

arianwen-sub-2-scaled

Knit Now magazine is based in the UK, and available in newsagents, supermarkets, yarn shops, etc. You can also buy electronic copies of the magazine! More info on the Knit Now website.

I shall be releasing a single PDF version of this design soon (and I may include some extra options, such as three-quarter length sleeves). If you'd like to be notified of this, or any other future releases, you can sign up for my newsletter!

Tutorial: Grafting in pattern

I thought it was about time I made a tutorial explaining how to graft in pattern - it's a technique I use often, and it's required for a neat finish on a number of my patterns, including Nennir, Cinioch and Tallorcen. Regular grafting in stockinette - also called Kitchener stitch - is a technique that uses a darning needle and yarn to sew live sts together in a way that perfectly imitates a row of knitting. Done properly, with close attention paid to the tension of the yarn, it can be completely invisible. It also has the advantage of joining sts together without the bulk of a seam, which is why it's often used to close sock toes. Grafting in pattern - i.e. grafting across a row of mixed knit and purl sts - is not significantly difficult, if you already know how to graft in stockinette. I'm going to assume in this tutorial that you do already know stockinette grafting - if not, I recommend reading this and having a practise before attempting to graft in pattern!

I find that grafting is all about rhythm, and mantra - in stockinette grafting, everything goes fine as long as I repeat in my head "Knit off, purl on... purl on, knit off". Or even just "Knit, purl... purl, knit," because once you get into the rhythm of slipping off the first stitch on front and back needle, and leaving the second stitch on, it becomes second nature.

Here's a condensed guide to how to graft in pattern, which will make more sense once you look at the photos and video below:

(F = front needle, B = back needle)

2 (or more) k sts on F (Stockinette grafting) F: knit off, purl on B: purl off, knit on

1 k st, 1 p st on F F: knit off, knit on B: knit off, purl on

1 p st, 1 k st on F F: purl off, purl on B: purl off, knit on

2 (or more) p sts on F (Reverse stockinette grafting) F: purl off, knit on B: knit off, purl on

Firstly, something very important indeed - grafting in pattern will only work perfectly if the direction of knitting is preserved in the two pieces being grafted together. In other words - if you make two separate cabled panels, worked from the CO up, and then tried to graft the live sts together, there will be a half-stitch jog. The cable sections - usually columns of 2 k sts over a purl background - will not align perfectly and it might look a bit strange. Imagine an arrow that starts at your CO edge and points up towards your live sts. If you're trying to graft two pieces together and the arrows point at each other, you will have the half-stitch jog.

If you start a cabled panel with a provisional CO, work for as long as the panel needs to be, then graft your live sts to the sts held by the provisional CO, then the direction of knitting is preserved and the sts will all align perfectly. This is often the construction used in cabled hat bands, cowls, waistbands, cuffs, etc.

If you'd like to follow along with the tutorial, CO 23 sts using any standard CO (like long-tail) and work as follows for a few rows: RS: k4, p4, k2, p3, k2, p4, k4. WS: p4, k4, p2, k3, p2, k4, p4. Leave the live sts on the needle.

Then CO 23 sts using provisional CO, work for a few rows in the above stitch pattern and BO. Undo the provisional CO and slip the 23 sts onto a needle.

You should have something like this:

image2993
image2993

After grafting the first few stitches as for regular stockinette, stop when you have a k st followed by a p st on your front needle! It will look like this:

P1010802
P1010802

For the transitions between k and p sts, the way in which you insert the needle has to change slightly. So, insert the needle knitwise (and slip st off, not shown):

F: Knit off...
F: Knit off...

Then insert needle knitwise (and leave st on, pull yarn through):

F: Knit on...
F: Knit on...

On the back needle, insert needle knitwise (and slip st off, not shown):

B: Knit off...
B: Knit off...

Then insert needle purlwise (and leave st on, pull yarn through):

B: Purl on...
B: Purl on...

After this, it's reverse stockinette grafting for a few sts. So, like regular grafting but backwards! Purl off, knit on... knit off, purl on. Like so!:

F: Purl off...
F: Purl off...
F: Knit on...
F: Knit on...
B: Knit off...
B: Knit off...
B: Purl on...
B: Purl on...

Continue in reverse stockinette grafting, until the next 2 sts on the front needle are a p st followed by a k st. Like this:

P1010811
P1010811

This time the pattern needs to be purl off, purl on... purl off, knit on:

F: Purl off...
F: Purl off...
F: Purl on...
F: Purl on...
B: Purl off...
B: Purl off...
B: Knit on...
B: Knit on...

And that's everything you need to know to graft in pattern! Continue to work across the row. Remember: if you have 2 or more k sts next on your front needle, you use stockinette grafting. If you have 2 or more p sts on your front needle, you use reverse stockinette grafting. It's the transitions between k and p sts that you have to watch out for!

Finished result, after tension has been adjusted a little bit along the grafting line:

P1010819
P1010819

As you can see (I hope!), if I hadn't used a different coloured yarn for the graft, the result would be practically invisible.

Hope this tutorial was helpful and feel free to ask any questions!

P.S. Here's a video demonstrating the grafting in progress:

[youtube http://www.youtube.com/watch?v=ngY2tmg9DPs&w=480&h=360]