Durrow shawl

durrow-mid-res-1 
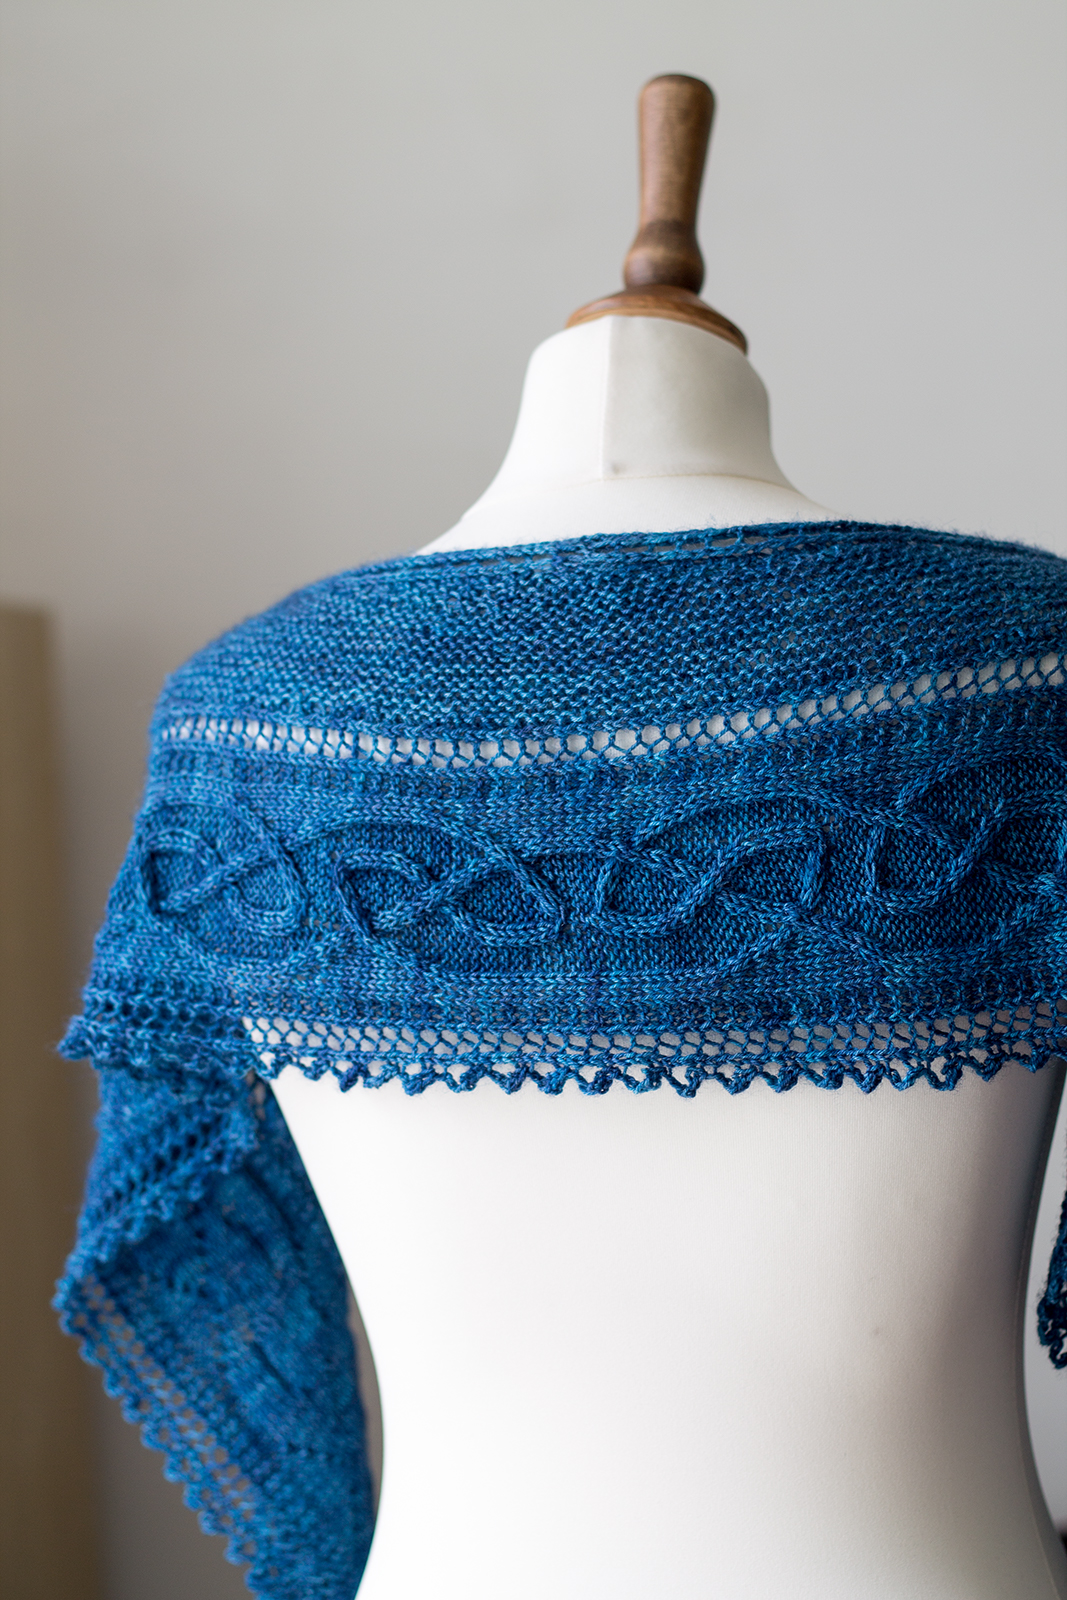
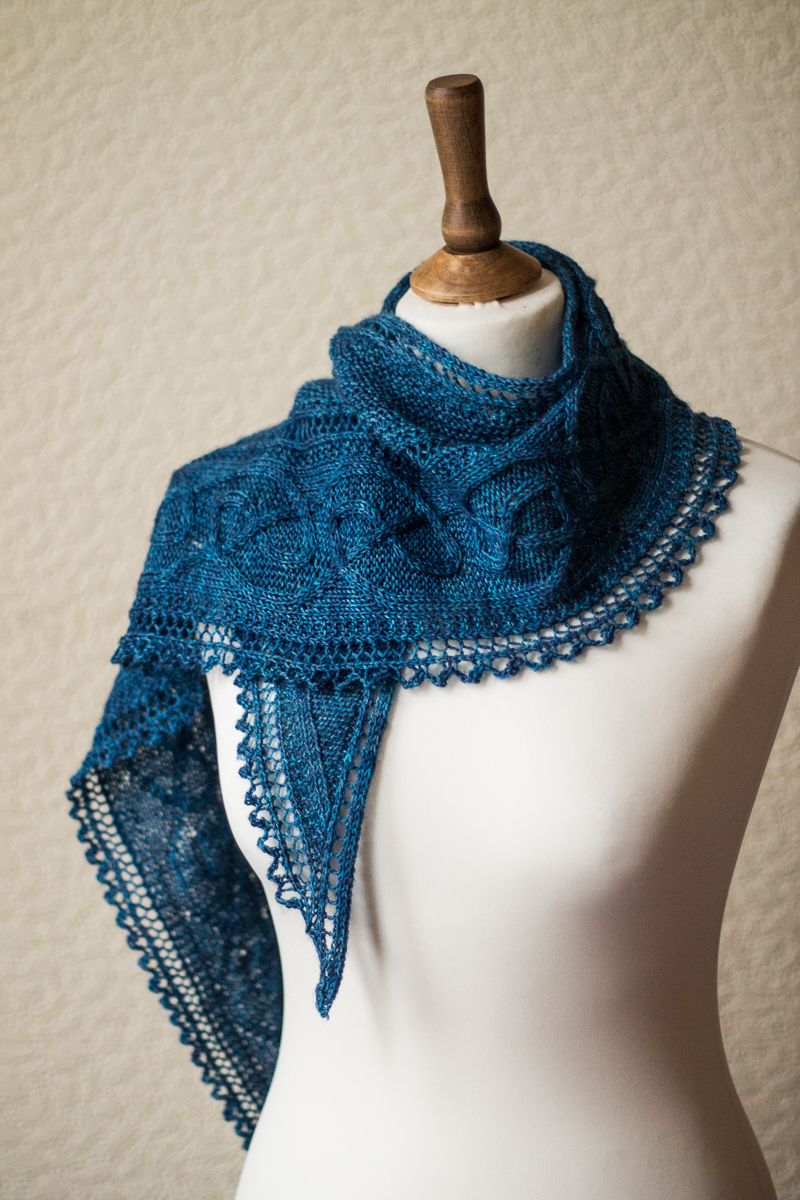
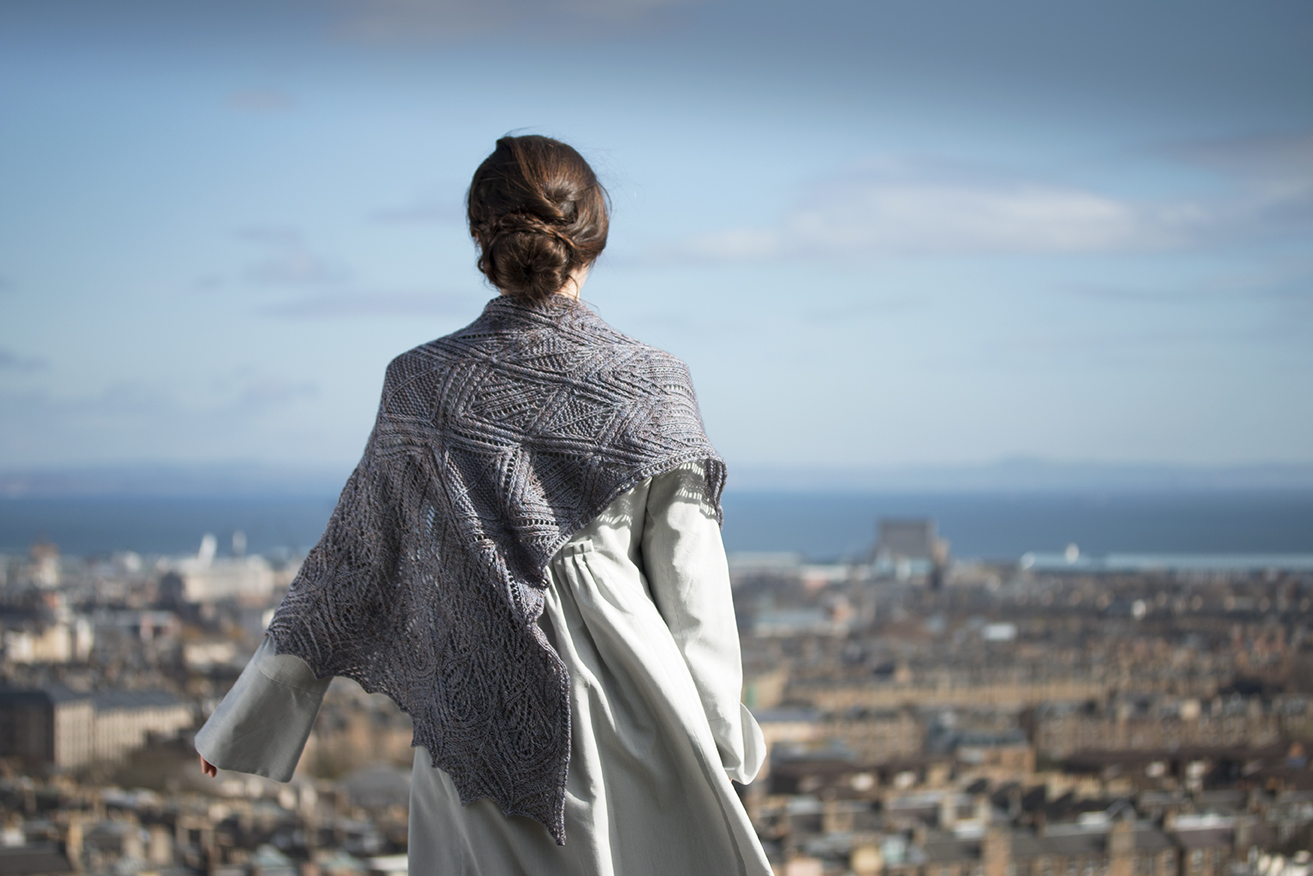
It's been a while in the making, but I'm pleased to announce the third design in the Illuminated Knits collection is finally here - the Durrow shawl!

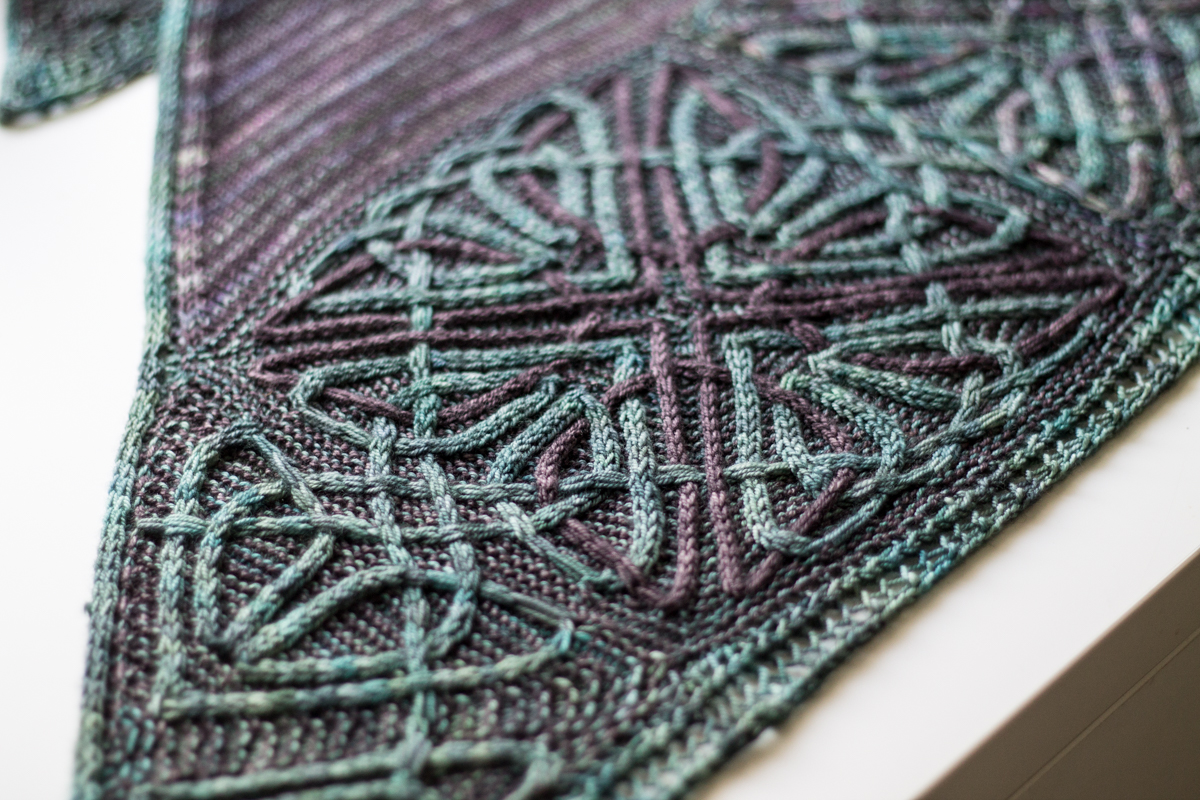
This design took several months to conceptualise and bring into reality. I think it might be fair to say that it's the most complex design I've ever created - both in terms of the cable pattern itself, and the knitting required to achieve it. I'm very happy with the end result though, and glad that I persevered even when it was completely refusing to make sense!

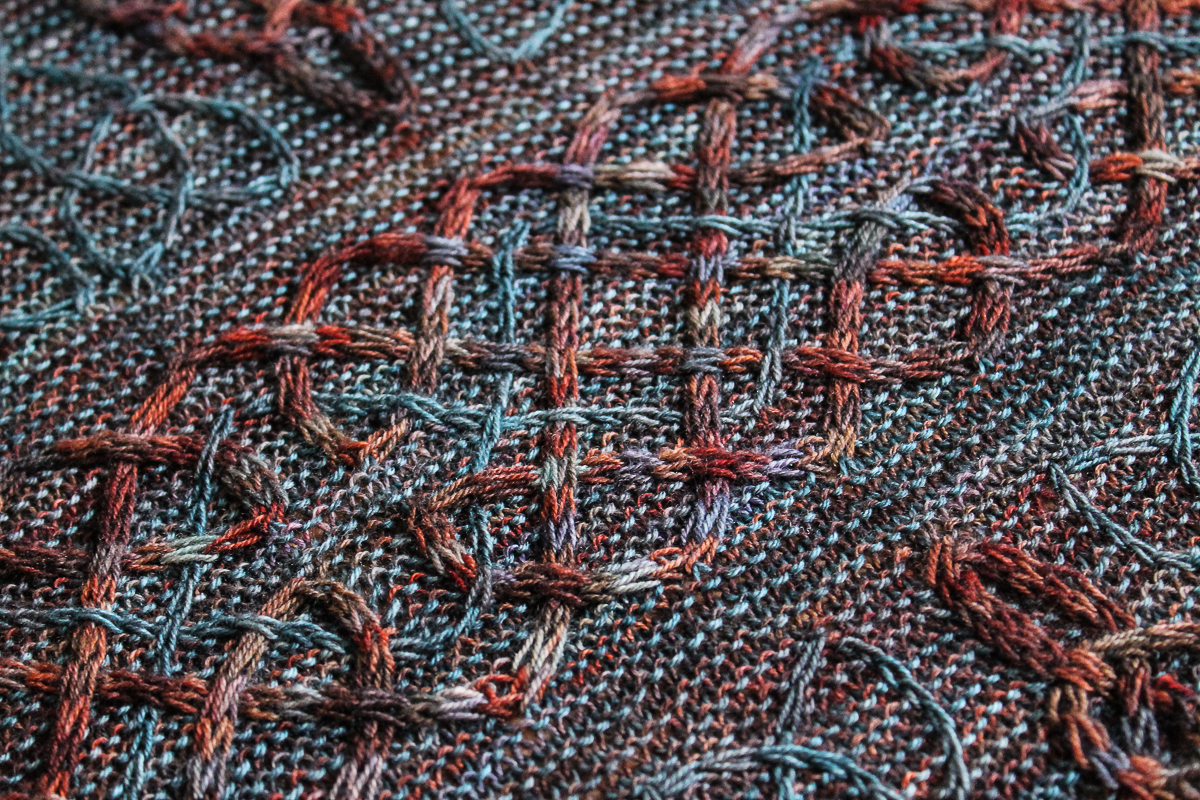
In keeping with the other designs in the Illuminated Knits collection, Durrow uses a technique of cables mixed with slip stitches to create a contrast colour design - I love this technique, because it gives you the chance to play around with different colours without actually having to use stranded knitting or intarsia. The colour-work is as simple as striping the colours on each round, and remembering to slip stitches when necessary (like mosaic knitting). This is the technique that I also used in the Iona blanket and Lindisfarne shawl.

One slightly finicky thing about this technique is that it does draw the fabric in a little bit (vertically, because of the slipped stitches), and so the fabric becomes much denser as a result. Because cable knitting also a tendency to do this (particularly the type of complex cables I use, where the rate of horizontal travel can be quite extreme), I decided to only use this technique when working in the round. Why? Because when you work in the round, you can change colours on every round, so the contrasting stitches only need to be slipped over one round. When you use this technique whilst knitting flat, you can only really change colours every 2 rows (so that your yarn ends up in the right place to strand up the side), so the contrasting stitches have to be slipped over 2 rows instead - creating even more pull-in and a denser fabric (there are ways of getting around this, so that you can knit flat whilst changing colours on every row, instead of every other row - however this is a bit complicated to describe and not something I wanted to do throughout an entire design; I have used it a little bit in this pattern though... more on that in a bit!).

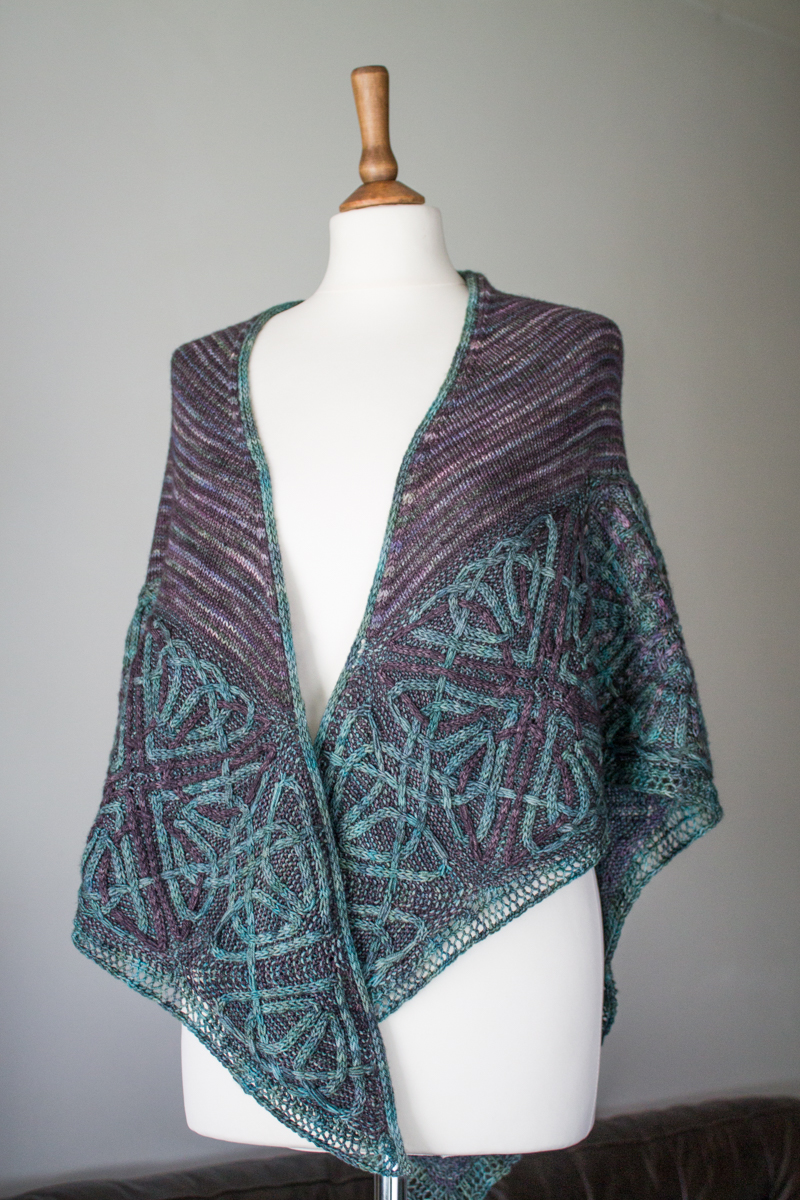
So, with these constraints in mind, I began to think about how I could use this slipped stitch colour technique in a triangular shawl. It is possible to knit a triangle shape entirely in the round (if from the centre out, for example. by concentrating increases at three evenly spaced points on each round); however, this will produce something more like an equilateral triangle, not the right-angled shape more commonly made (and worn!) by knitters. After a lot of head-scratching, I realised that this problem could be solved by making a border out of modular squares (which can be knitted in the round), with picked up stitches for the body (which can be knitted flat, and shaped like a traditional right-angled triangular shawl).

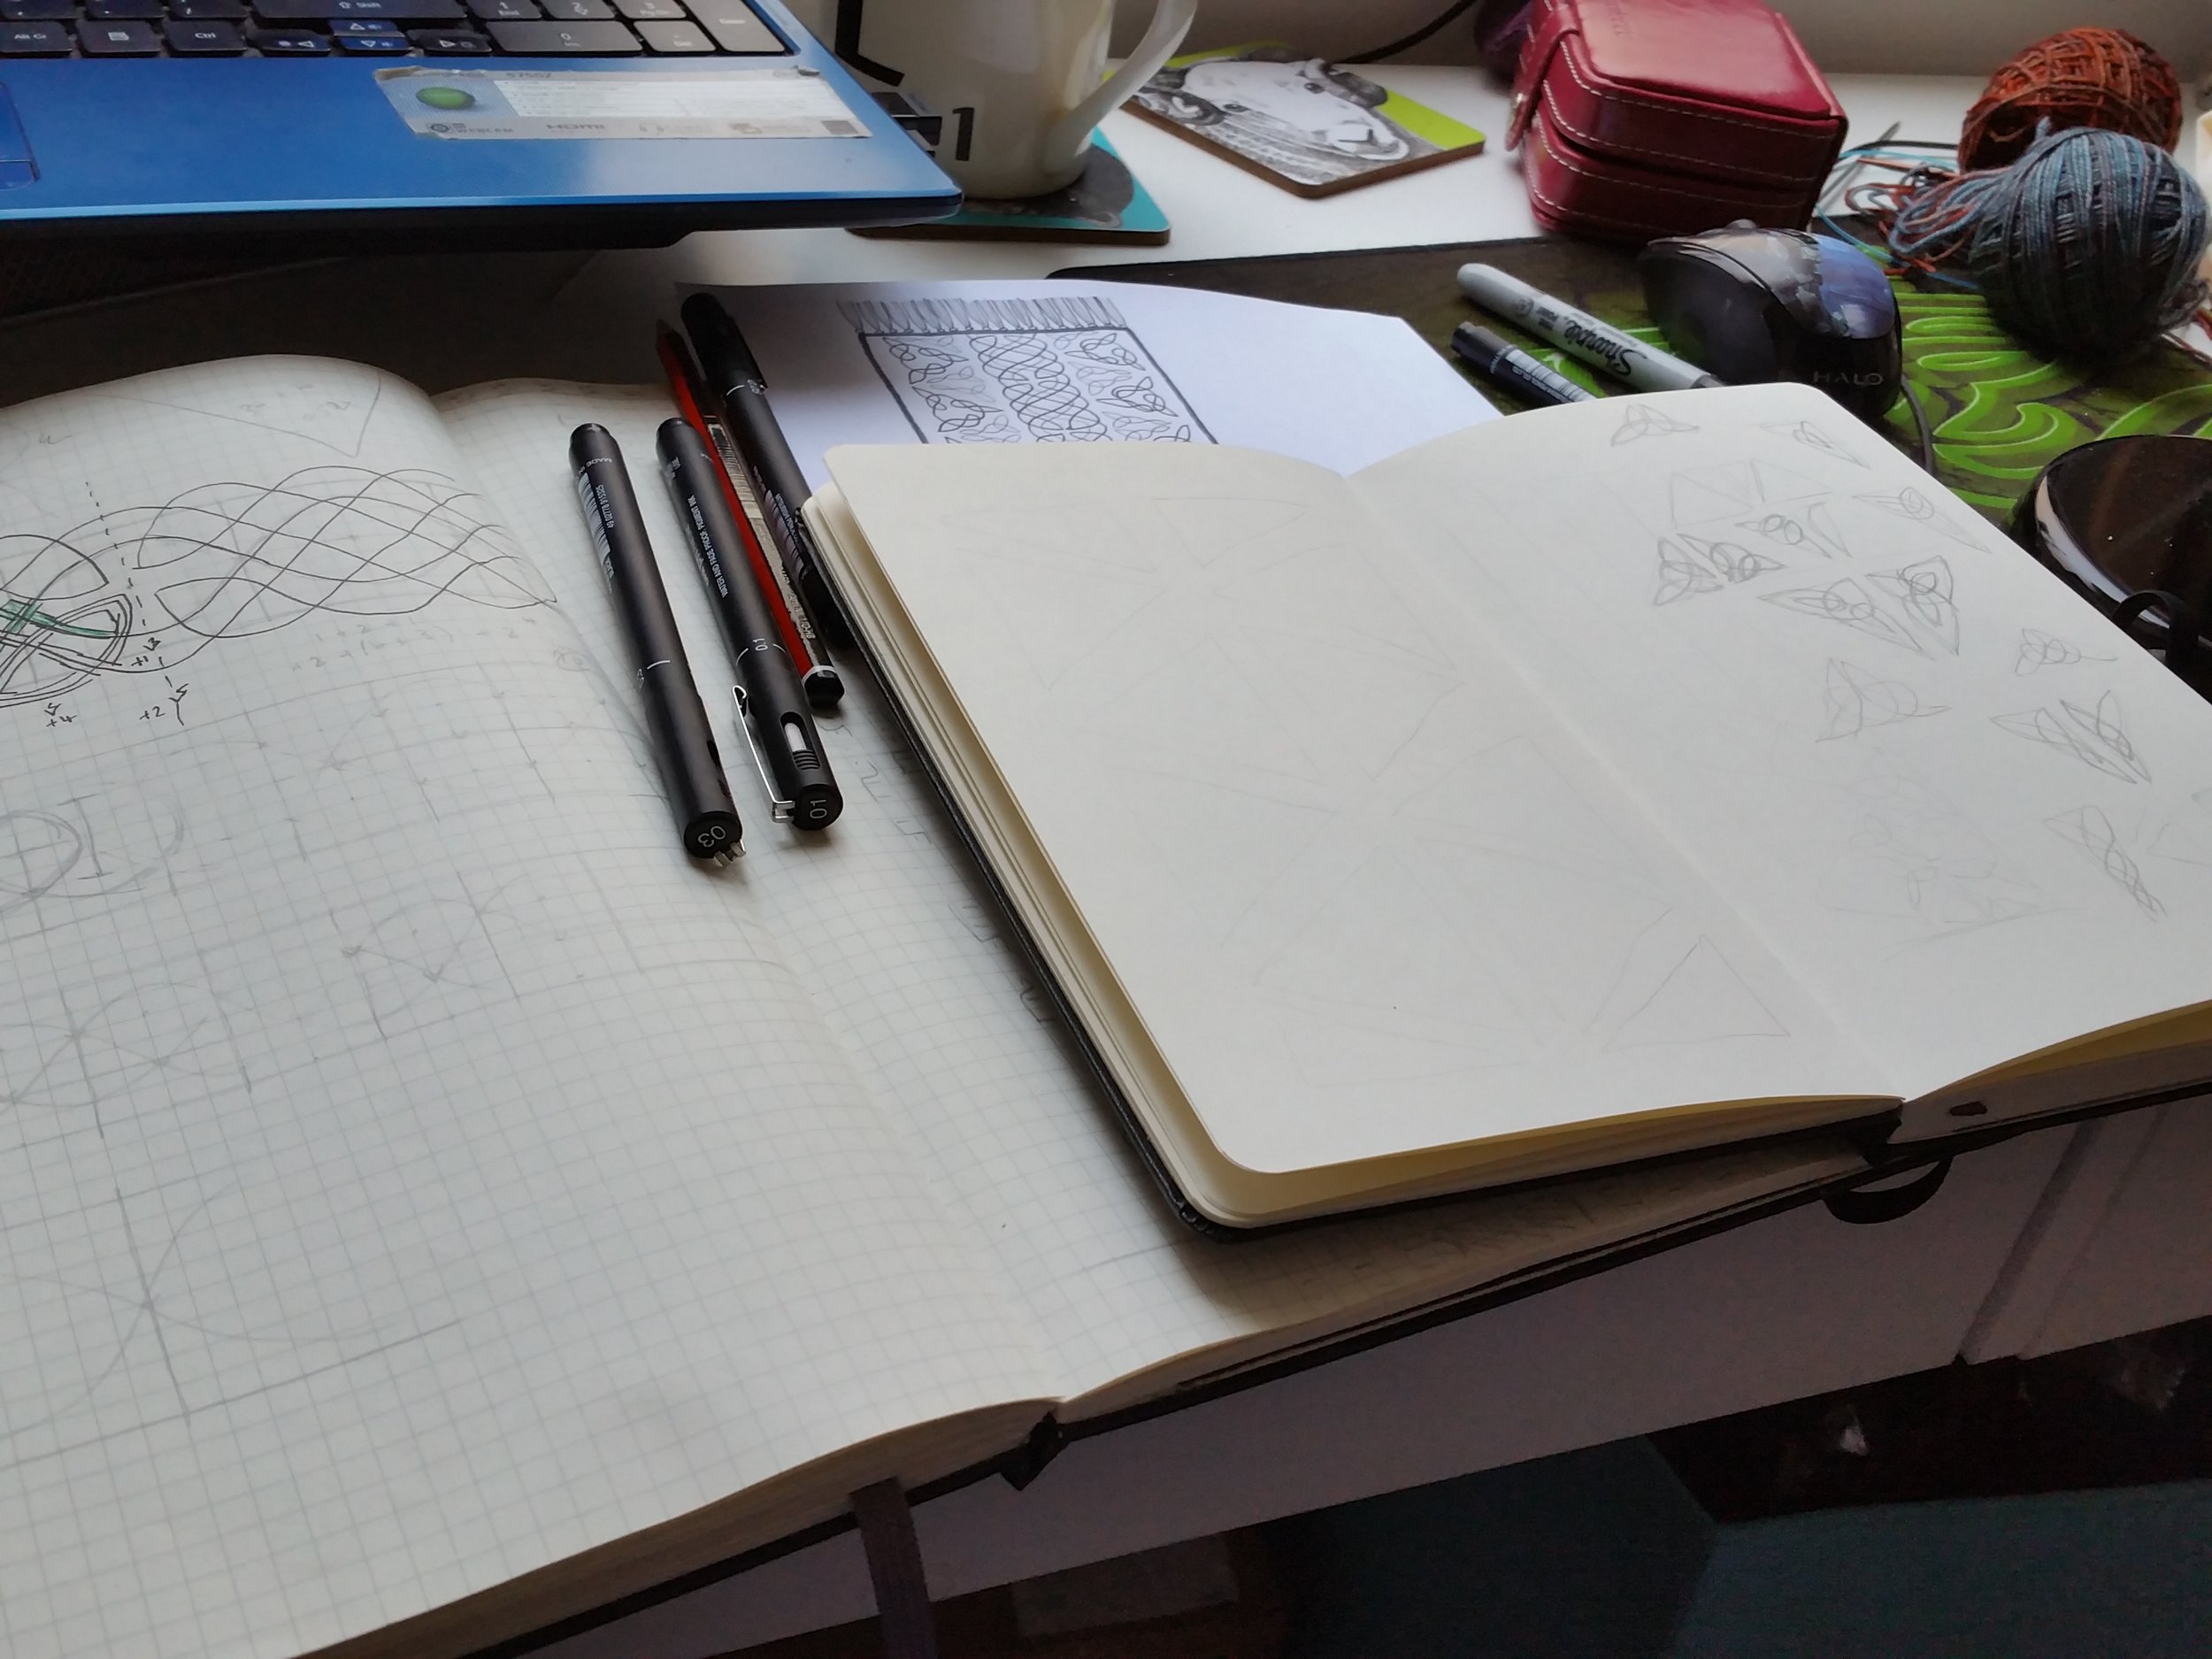
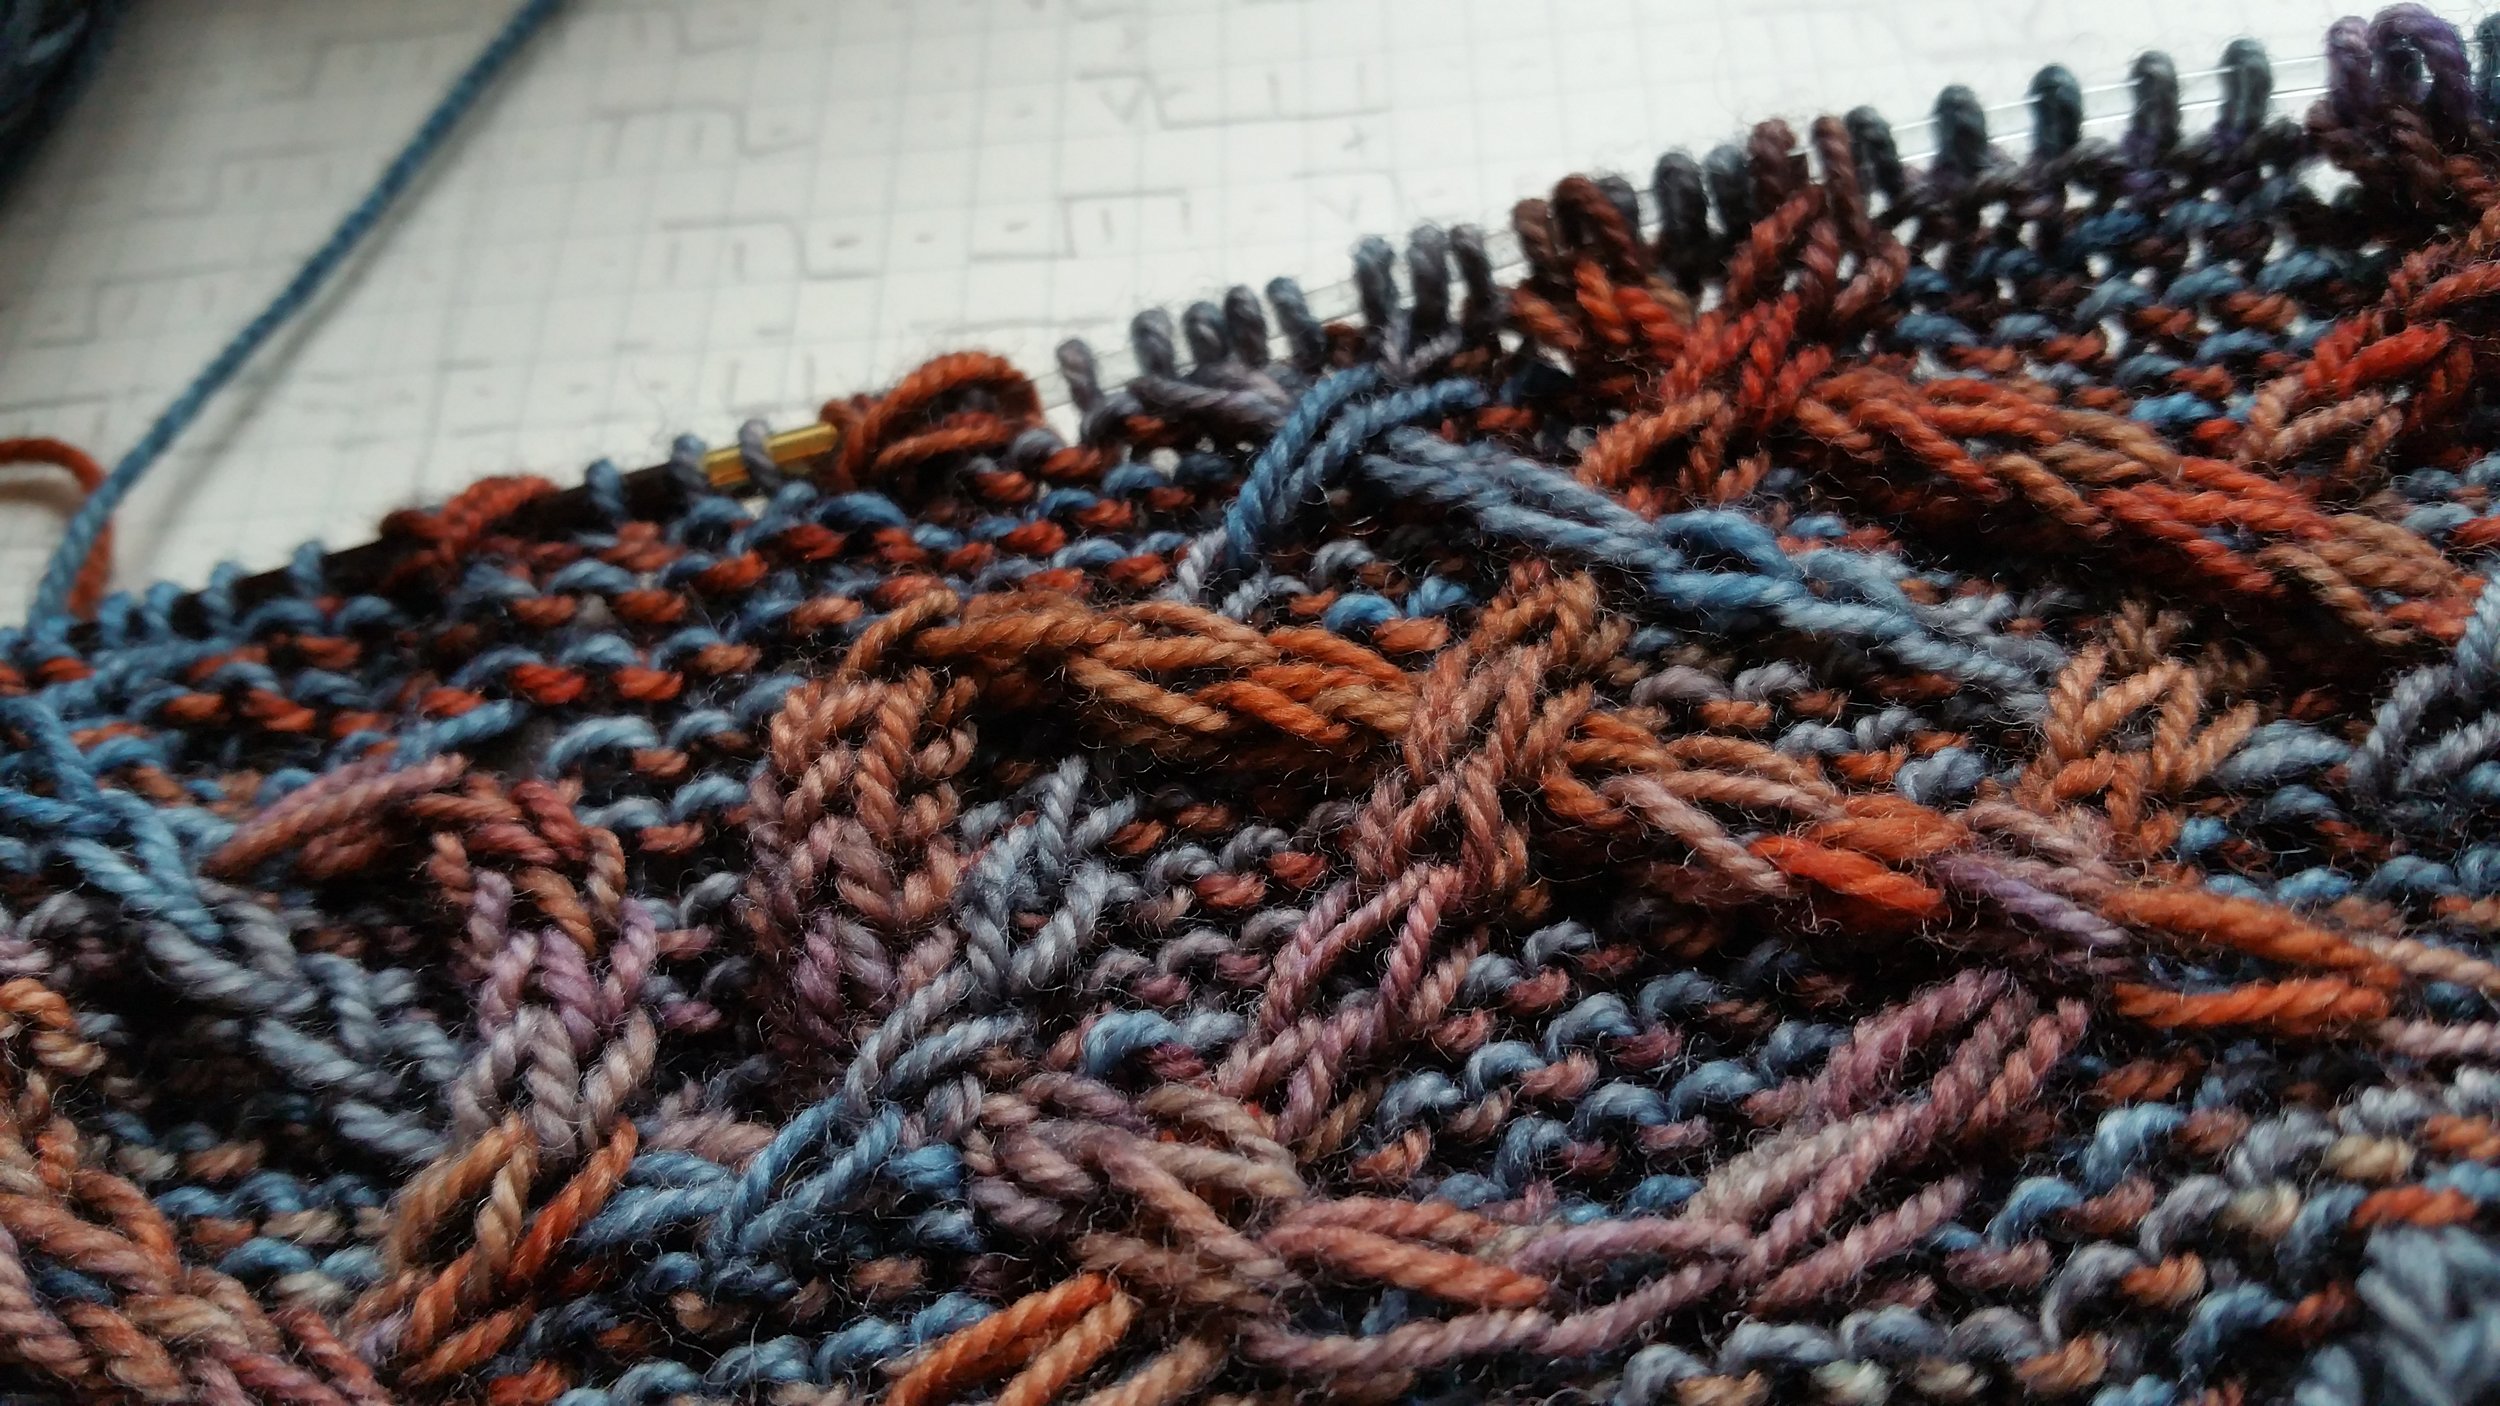
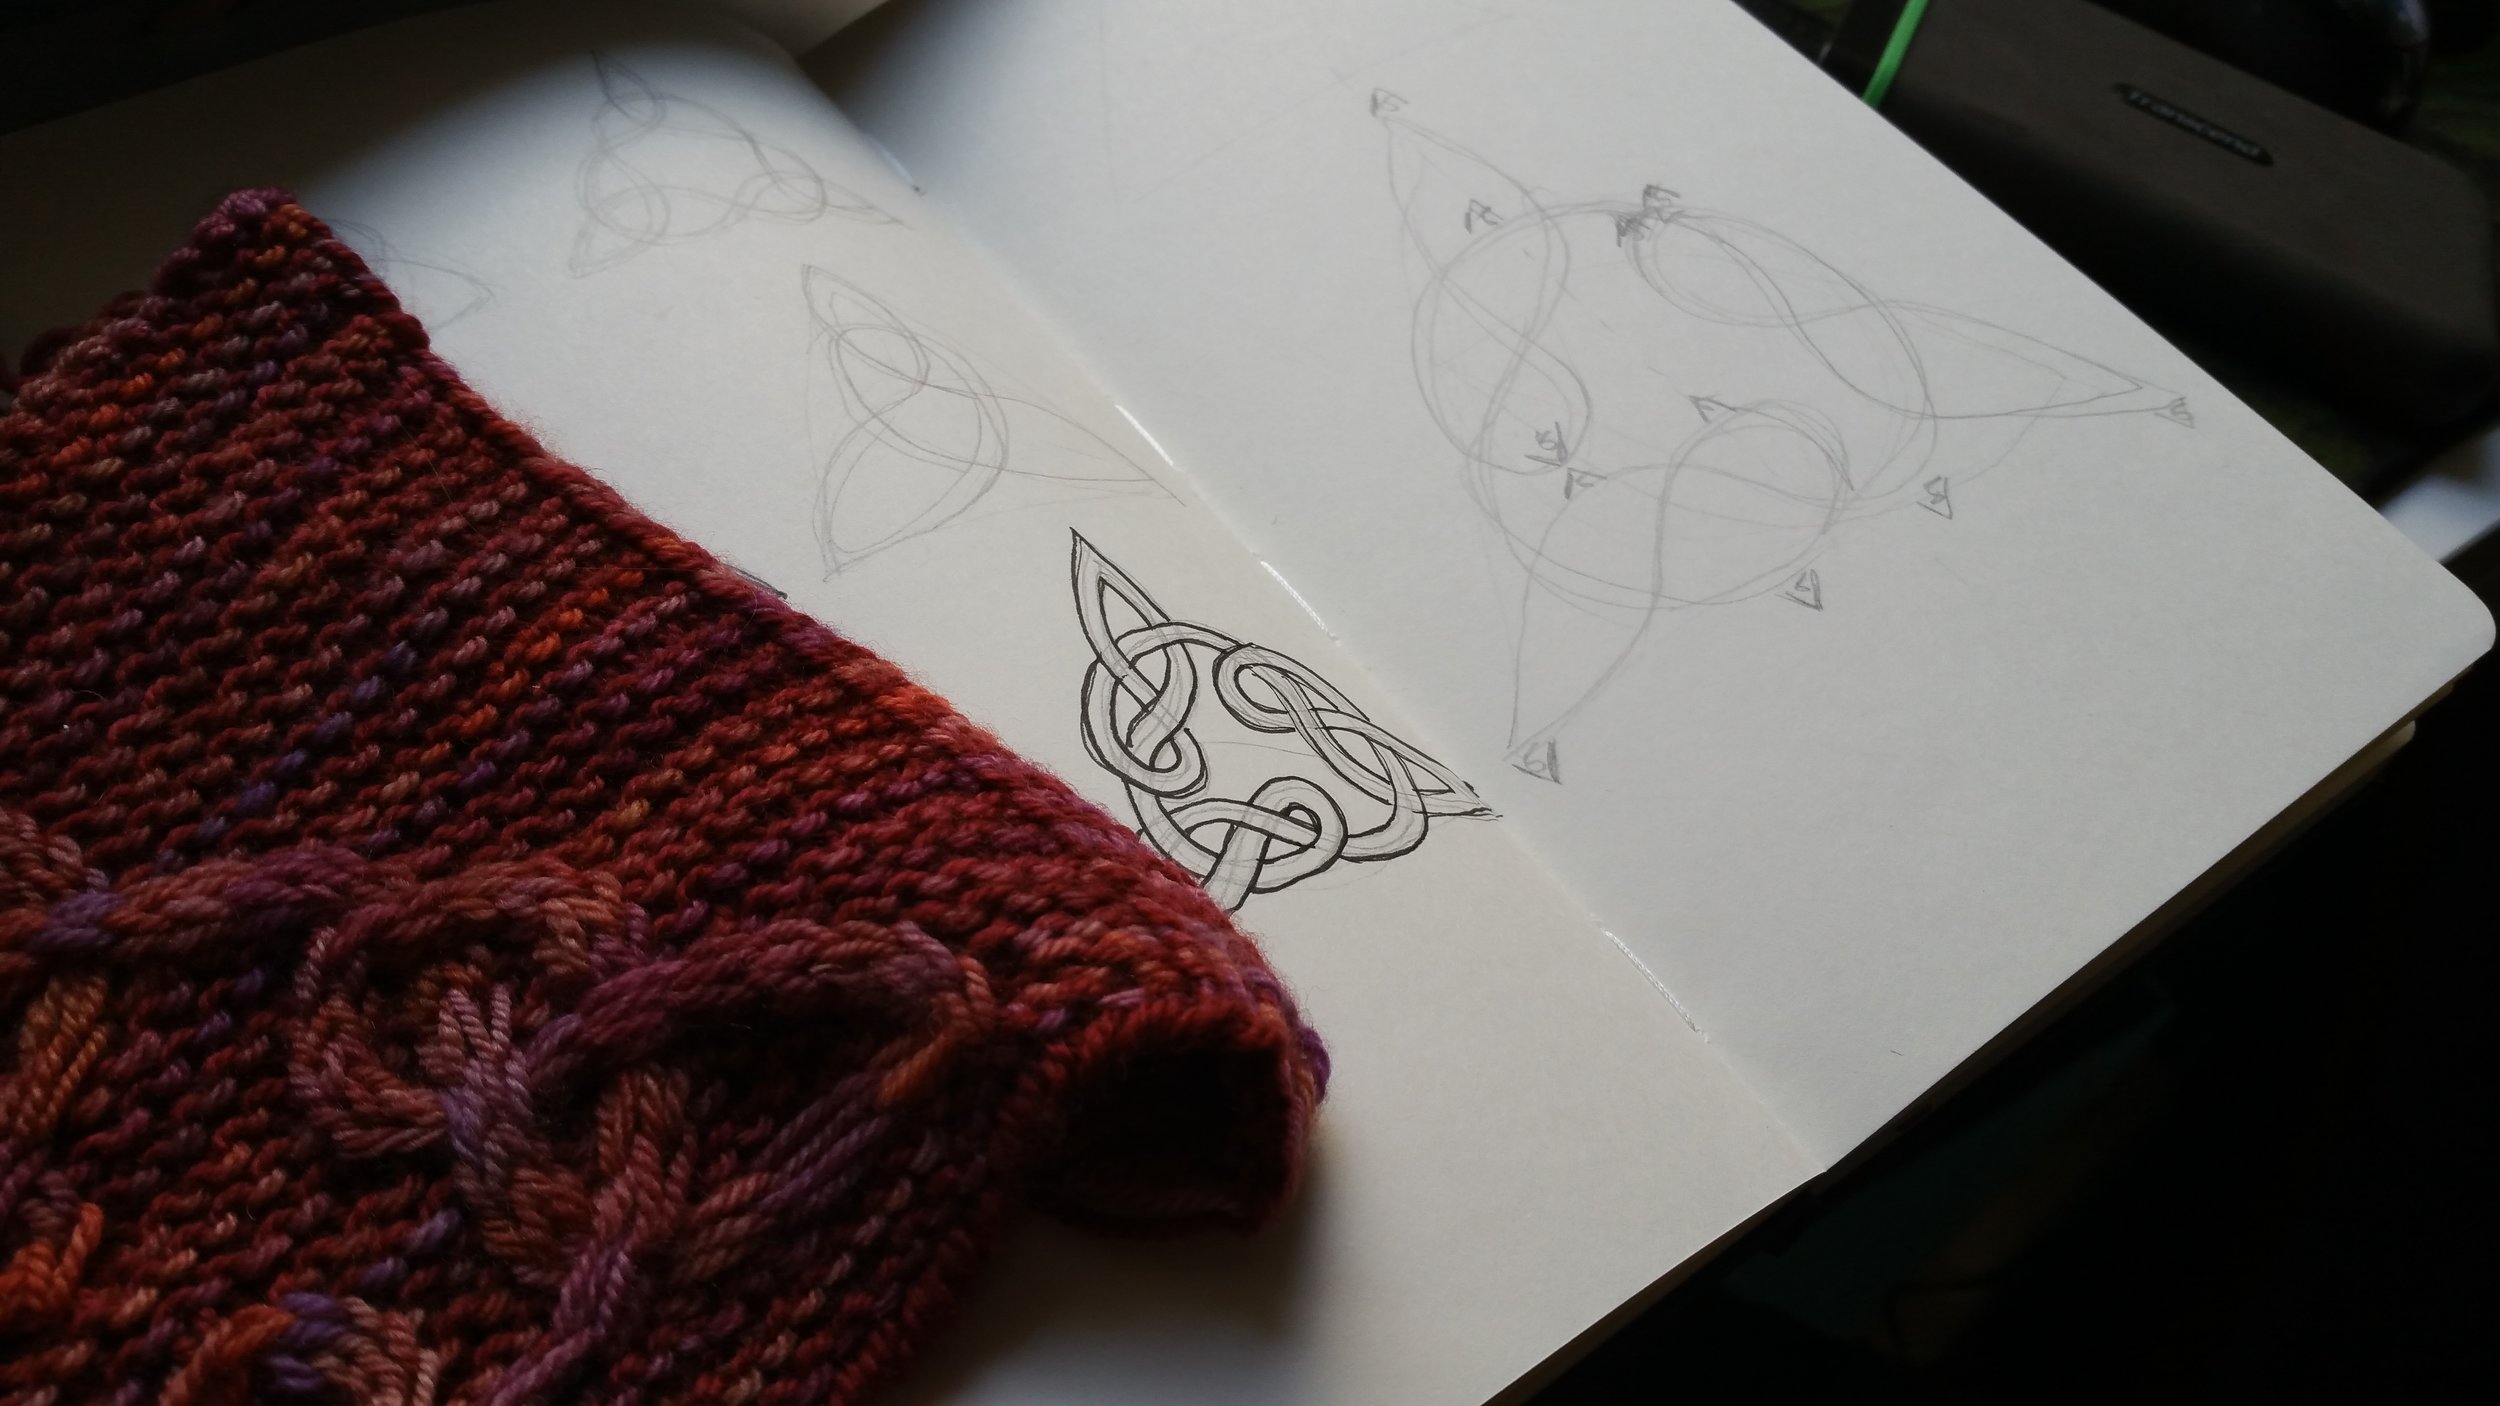
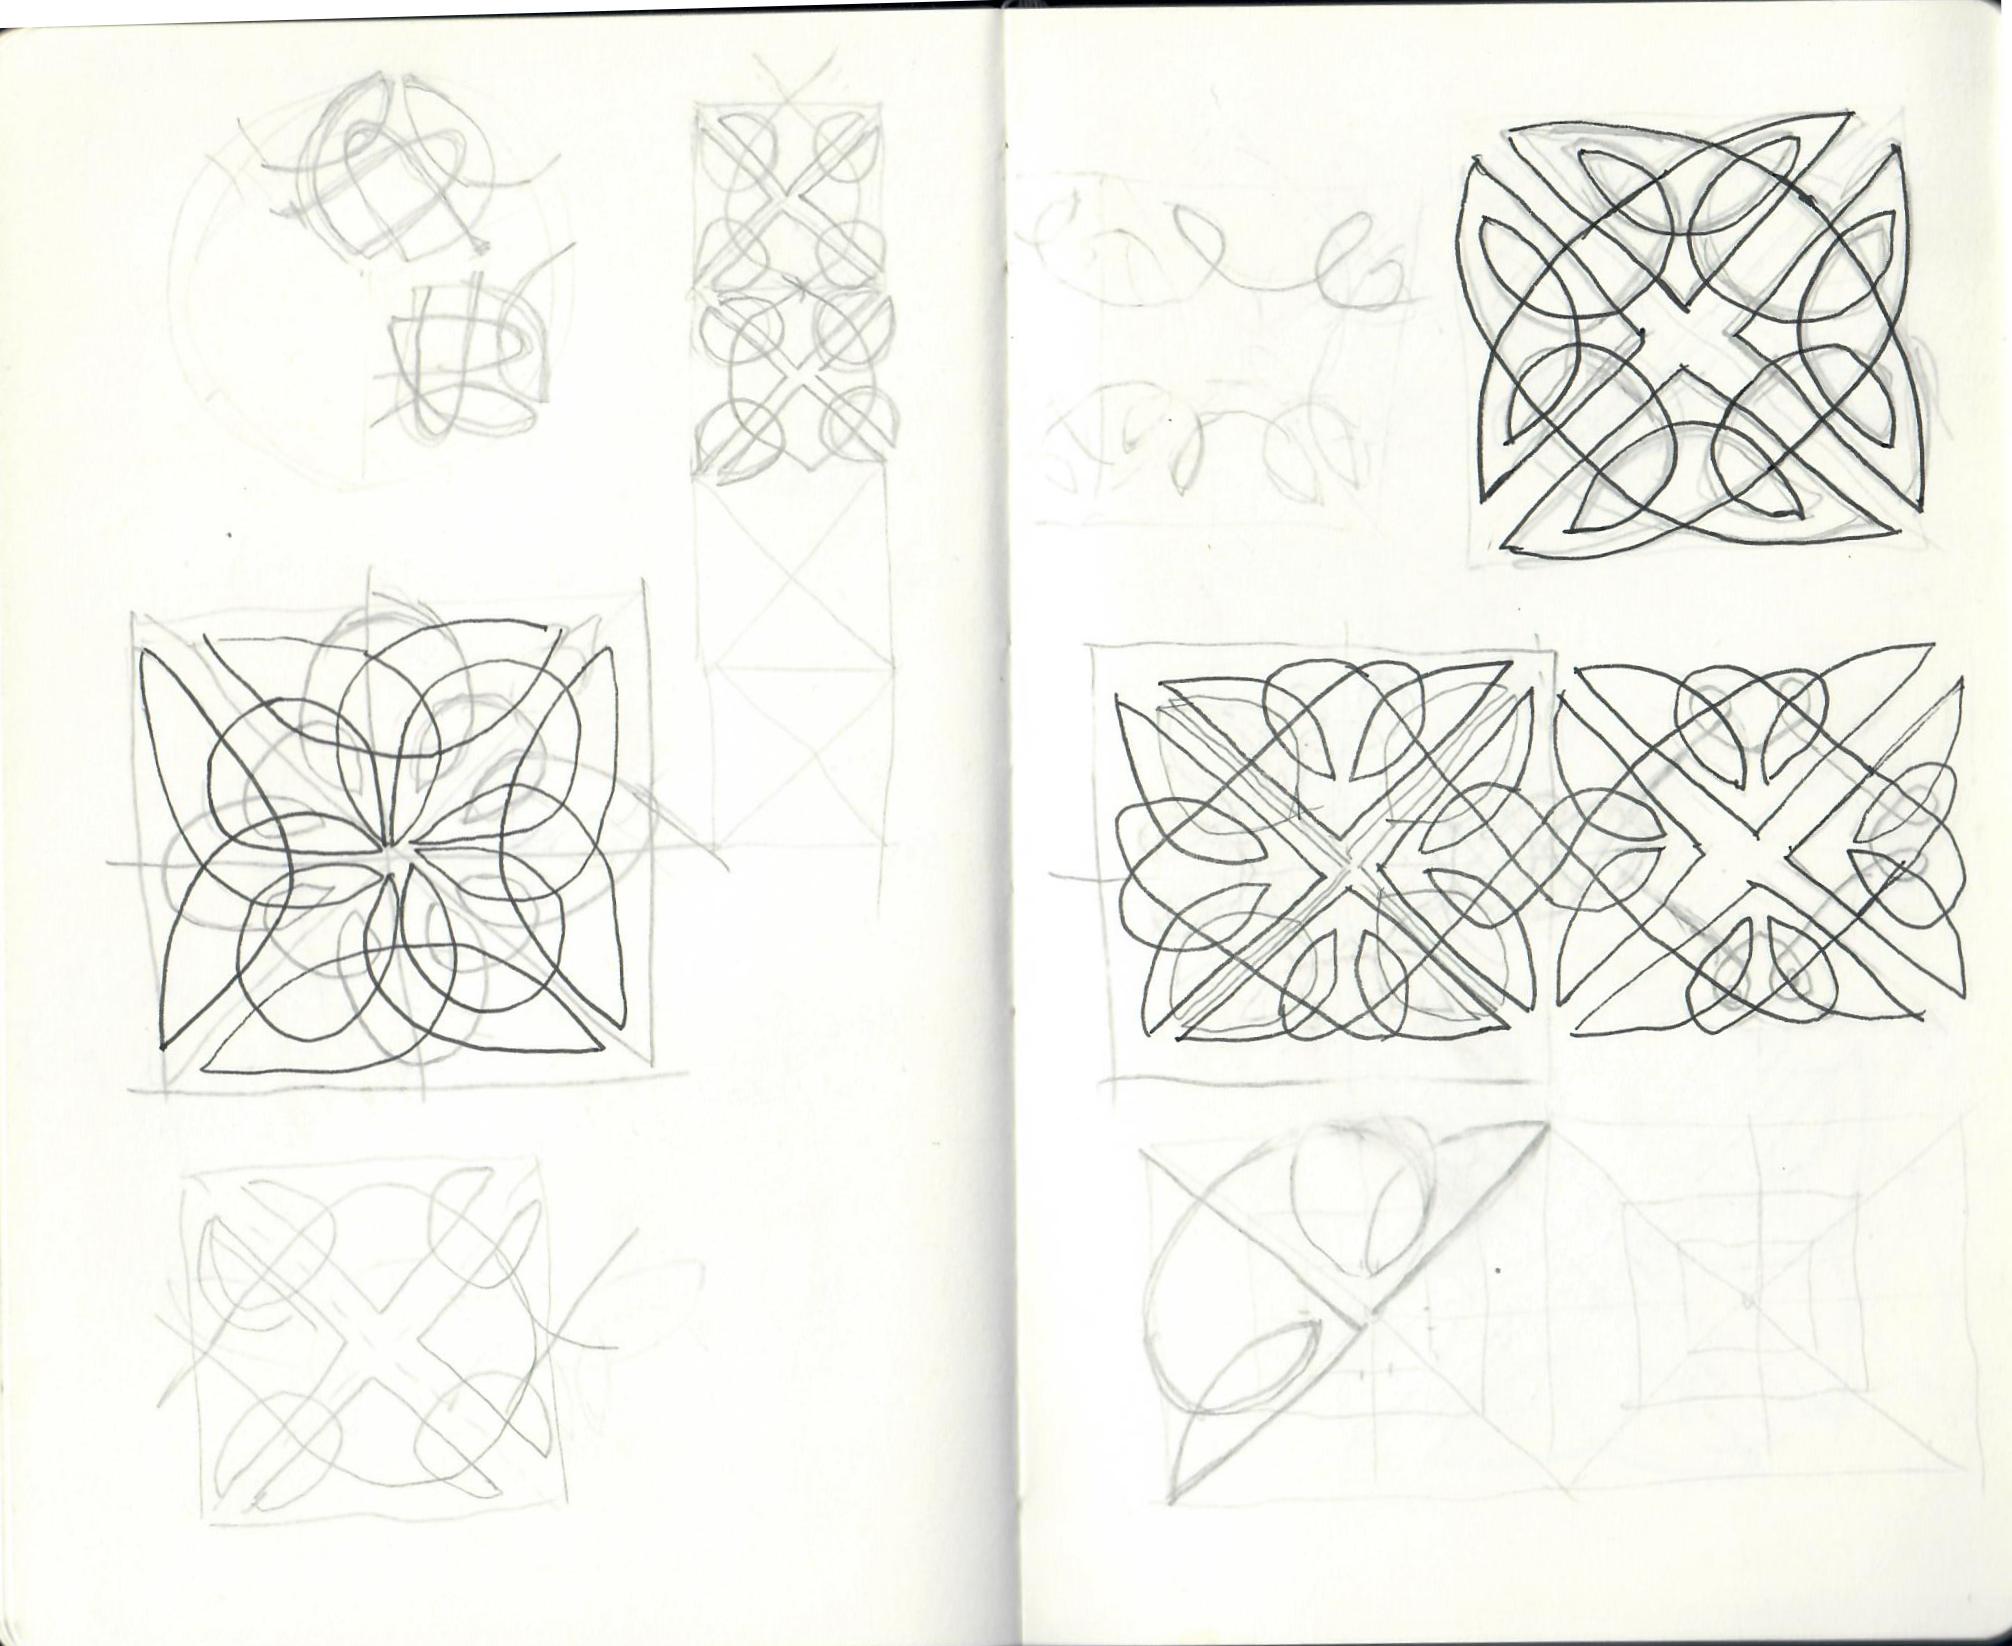
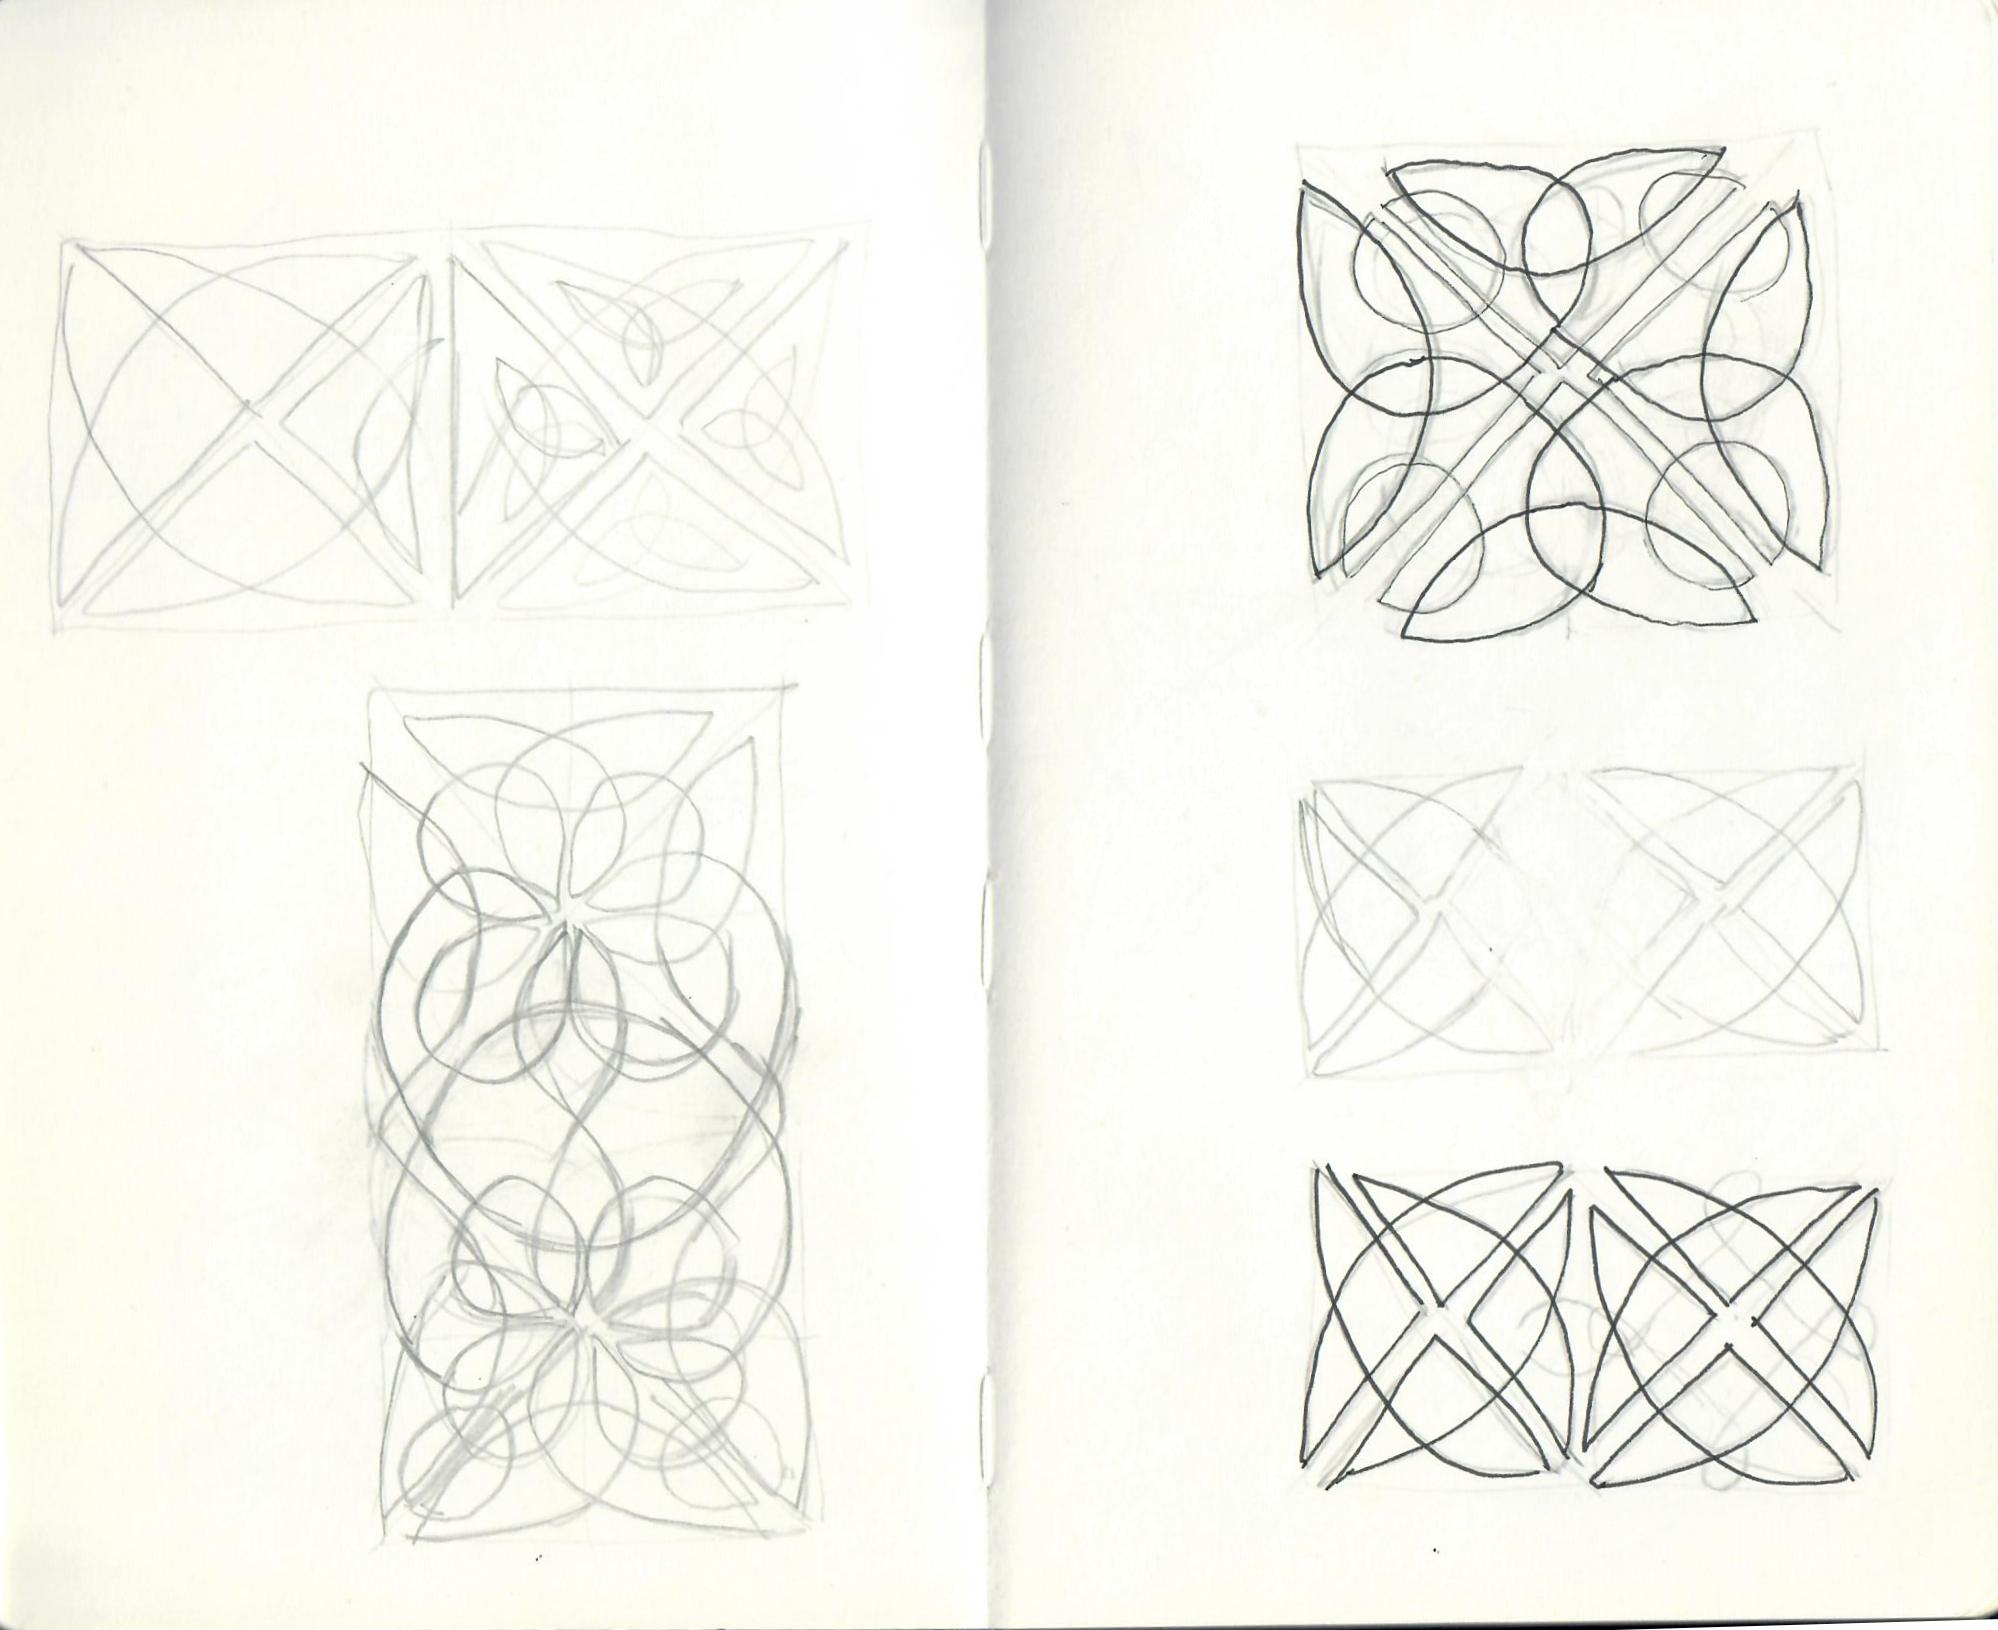
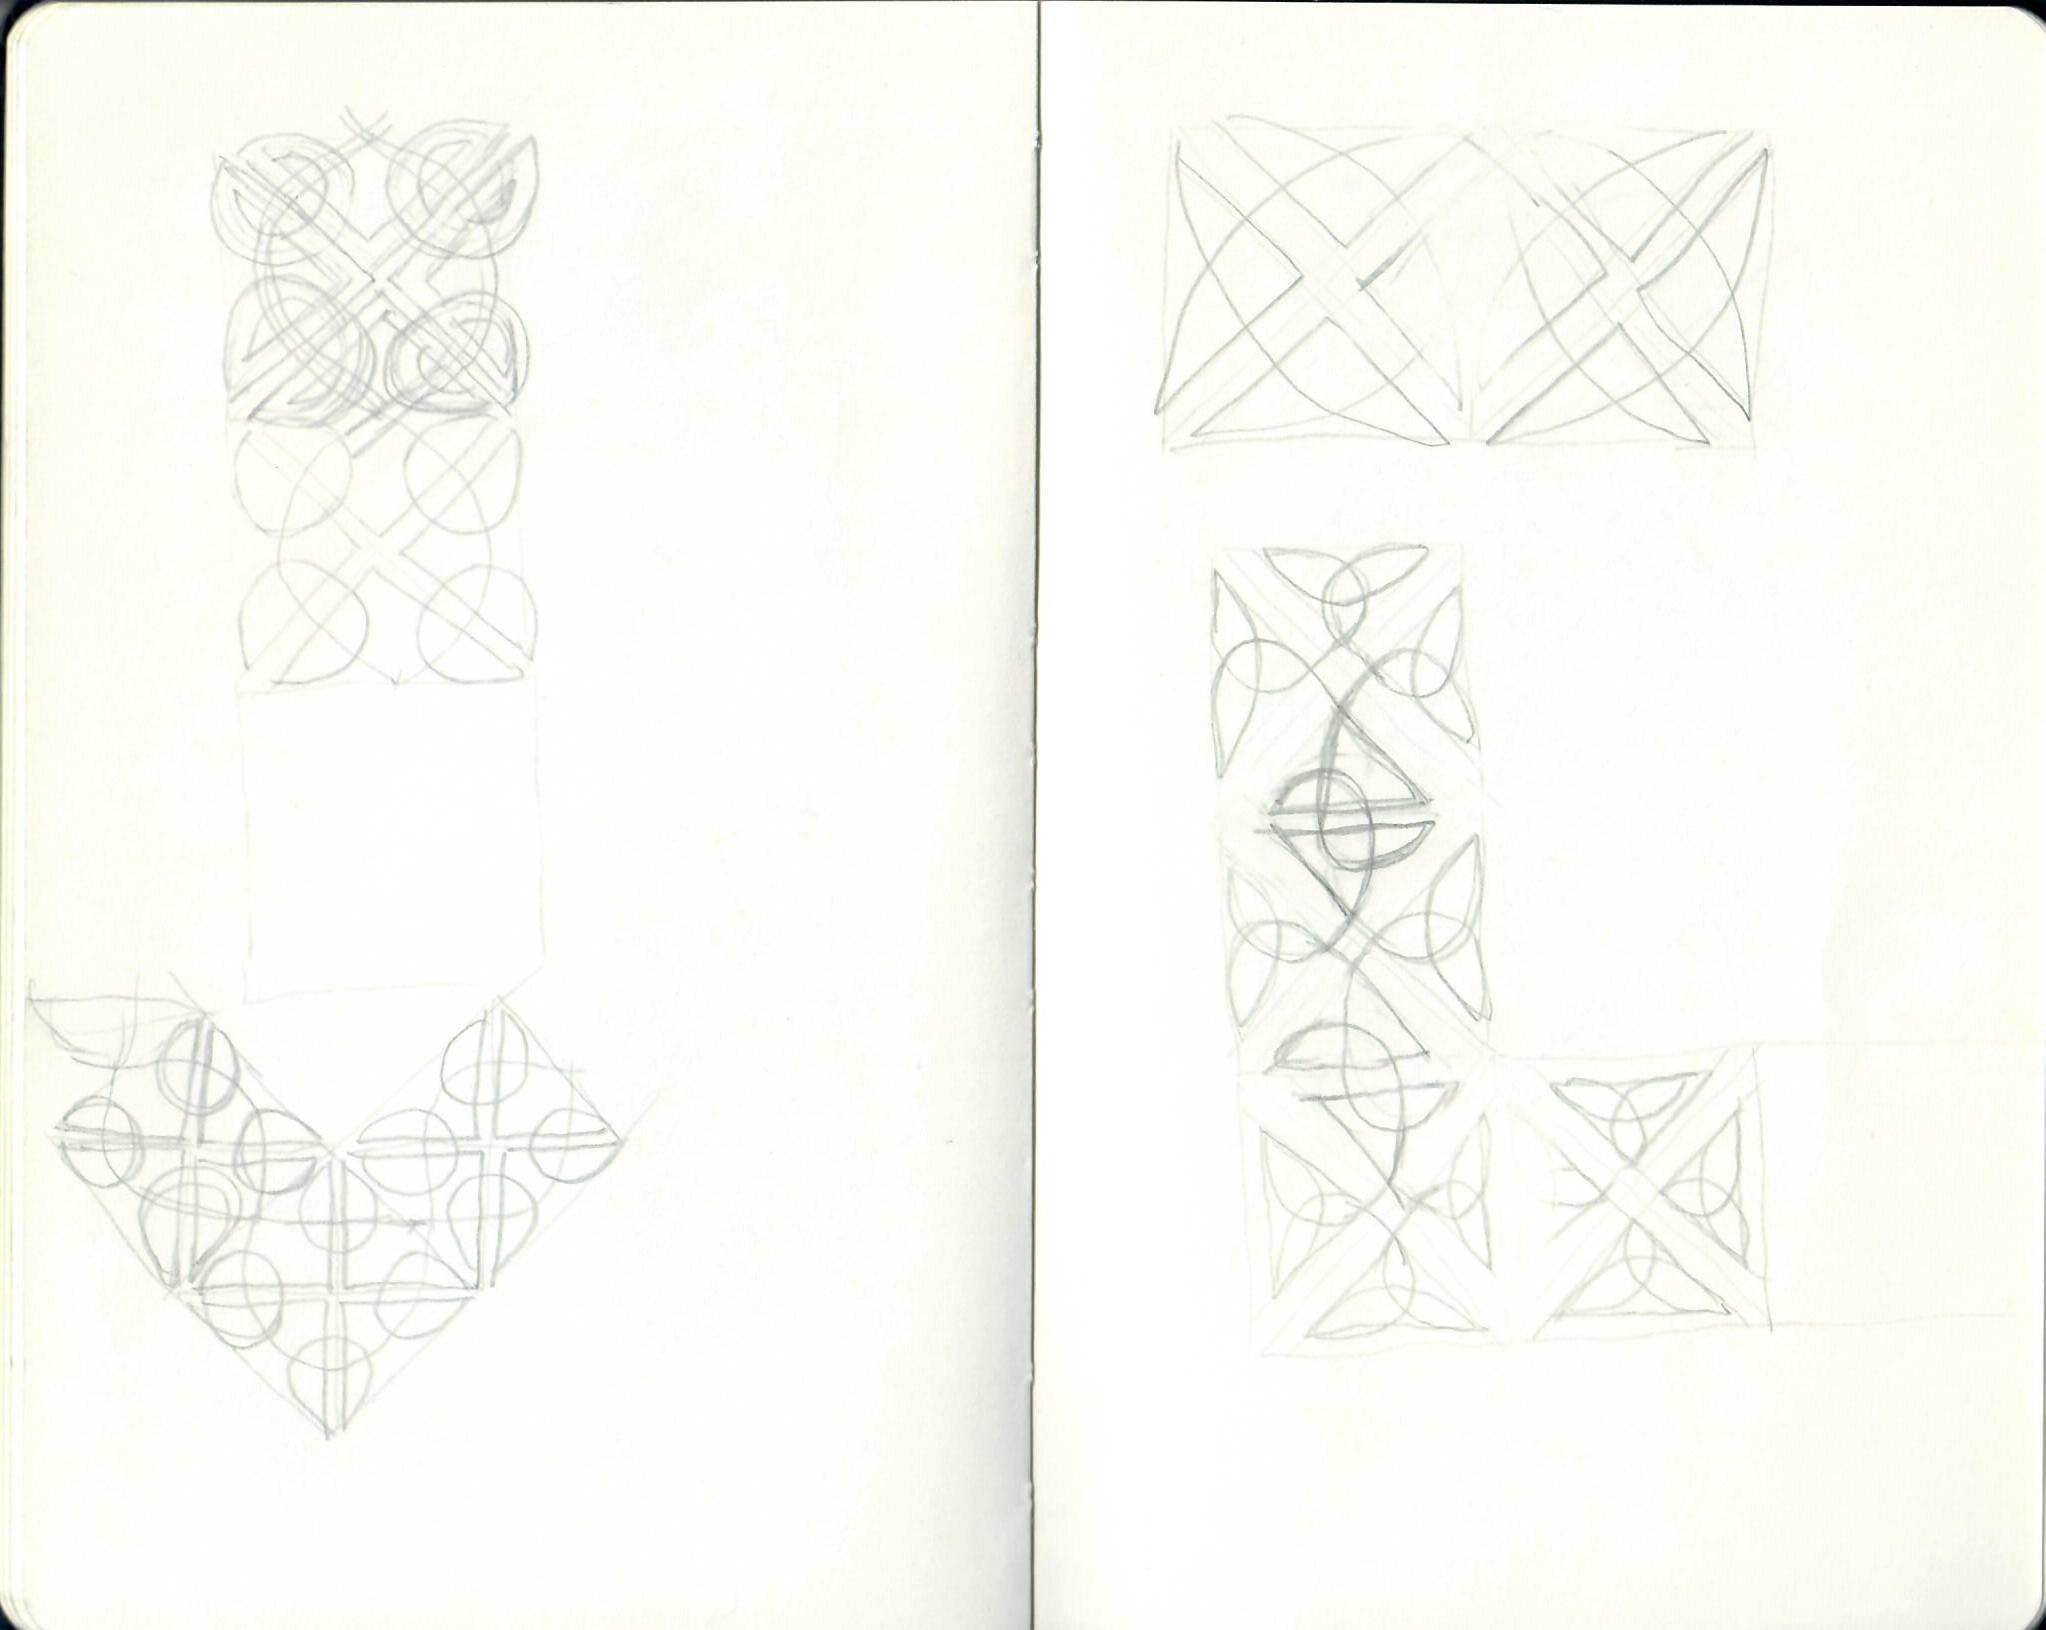
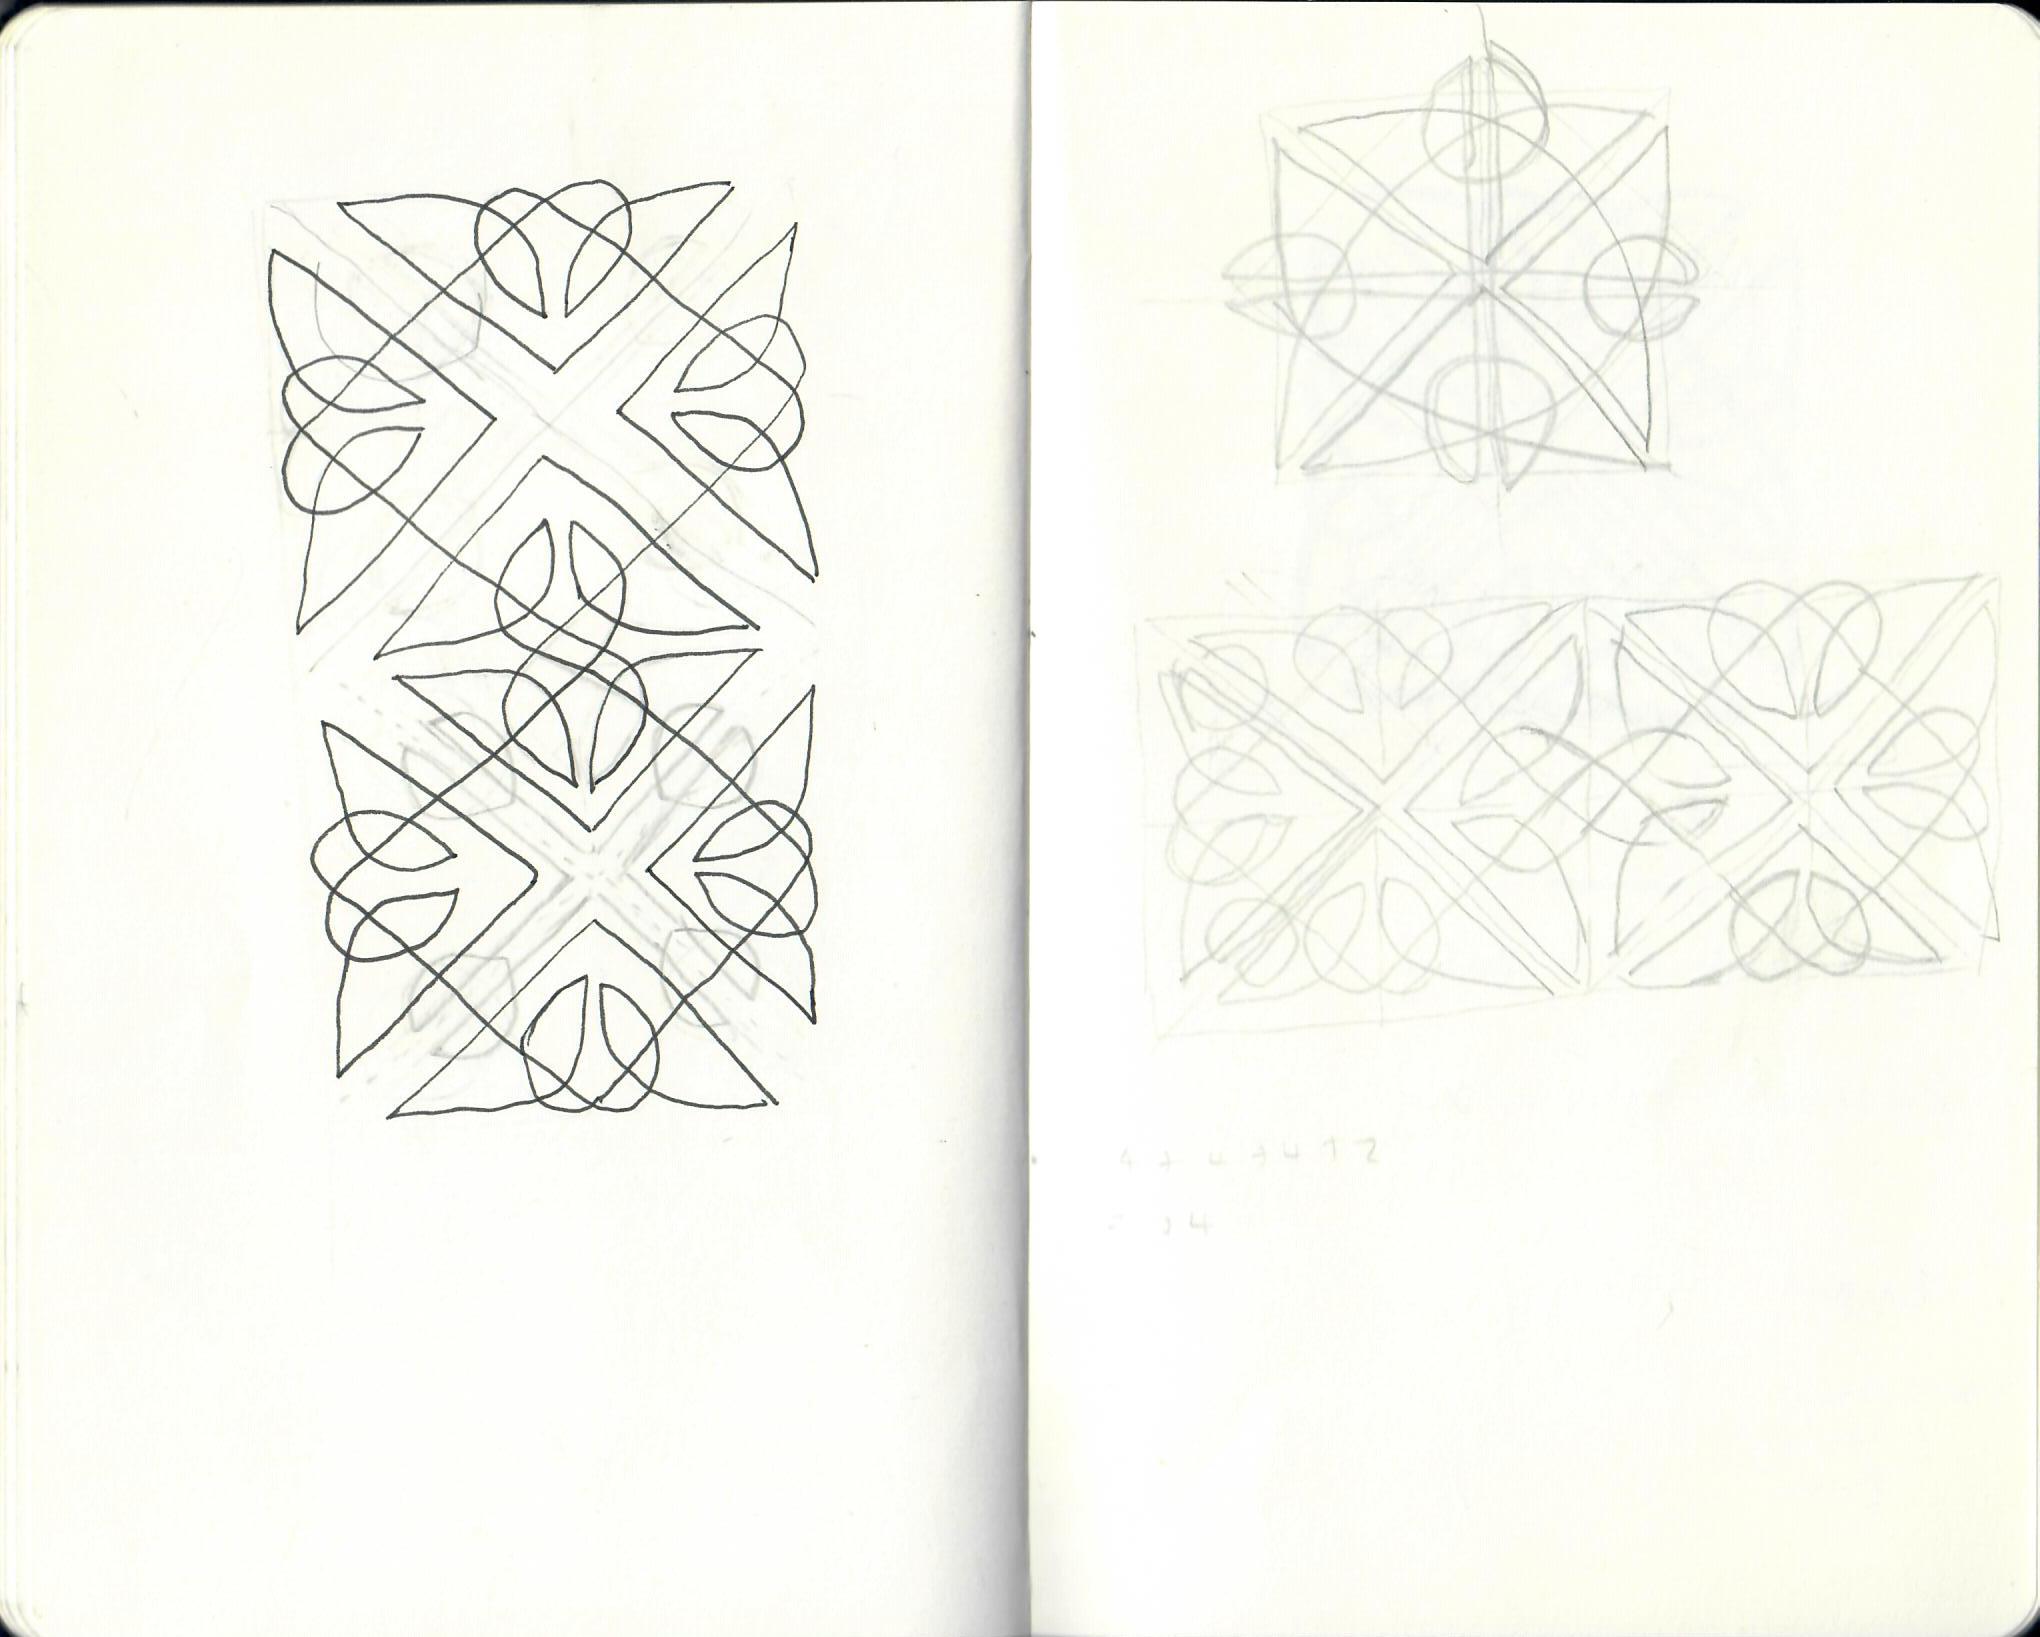
Here are some of my notebook sketches that show my efforts to work out a suitable square knot for the border (I wanted to use two different coloured cable strands, so I was trying to figure out one knot that could flow across the entire border, and then another self-contained background knot that only occurs once in each square):

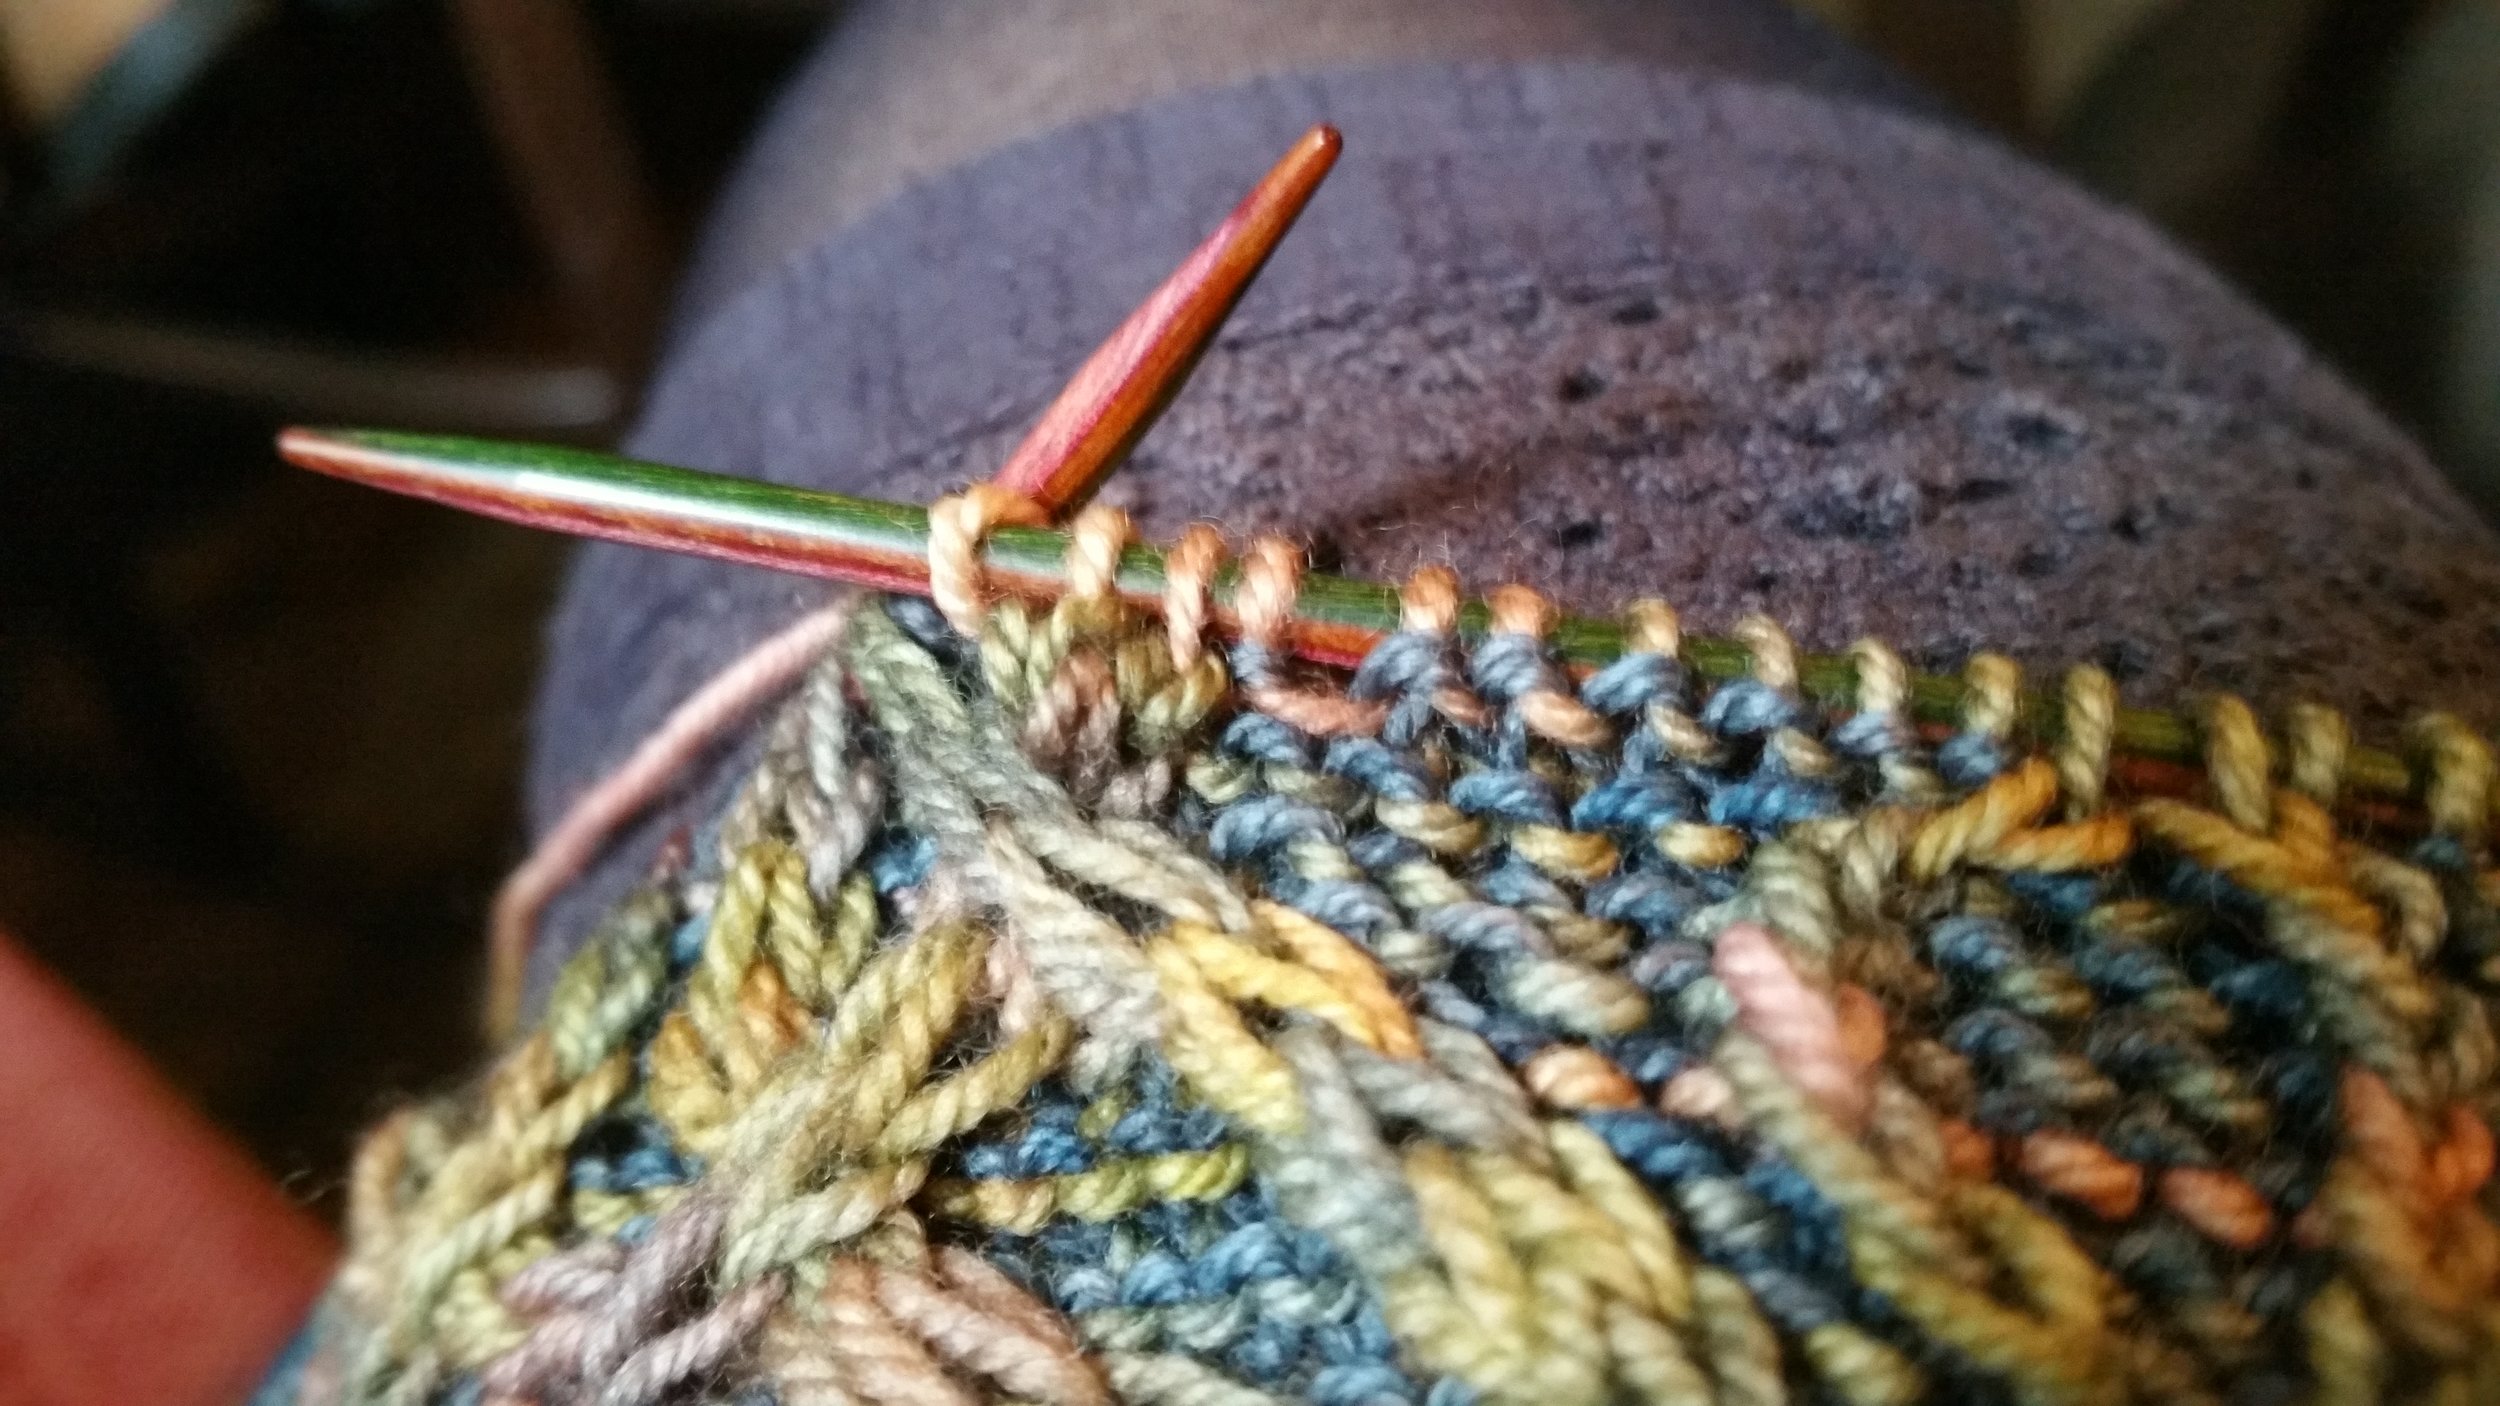
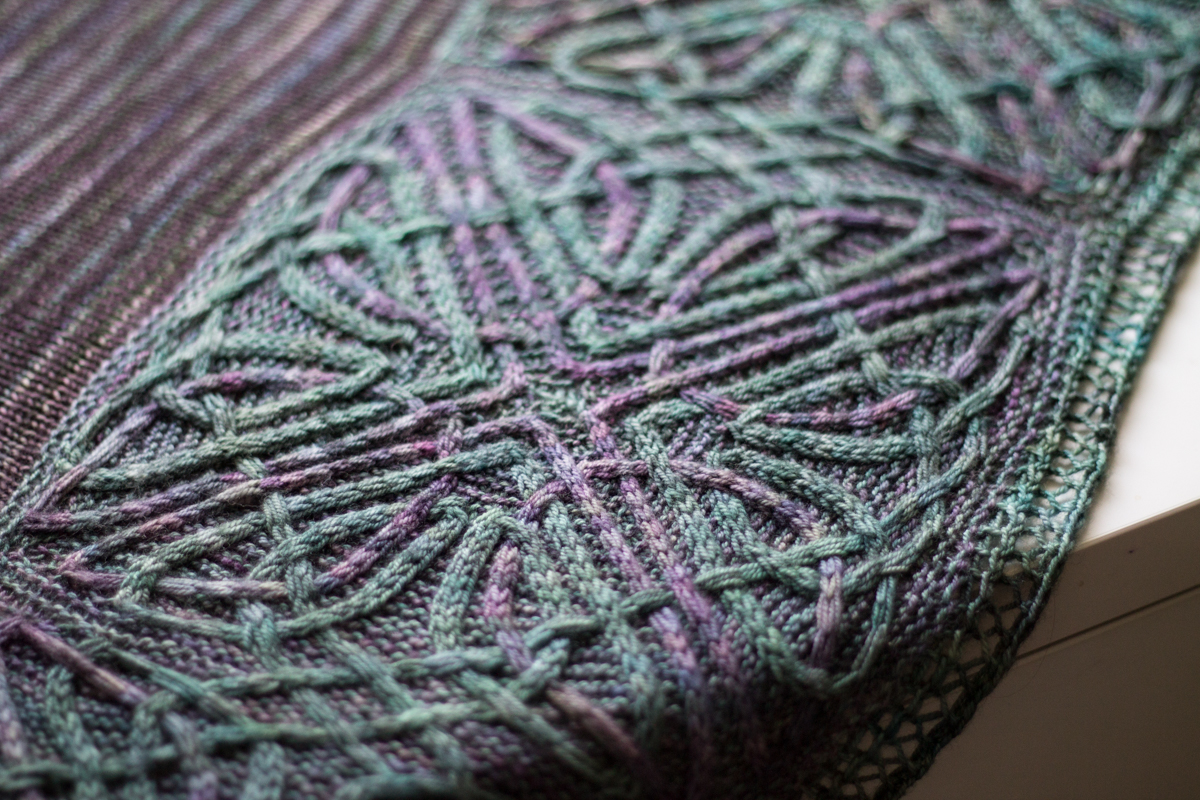
I realised that I could make the cable pattern flow all the way across the border if I alternated centre-out and centre-in squares. This helps to avoid the half-stitch jog (illustrated by Joni Coniglio) that will occur if you try to graft/pick up and knit stitches from pieces of knitting where the direction of knitting is opposite. Alternating centre-out and centre-in means that the direction of knitting across the squares, at the edges, is always maintained and so the cable flow perfectly. This picture probably shows it more clearly than I can describe:

durrow-mid-res-13

The squares on the far left and far right are both knitted centre-out; then the live stitches at the edges have been used, along with 2 provisional cast-ons, to start the middle square which is knitted from the outside to the centre. If you look closely at the edges of the middle square, you should be able to see how the main cable (in turquoise) flows seamlessly across all of the squares.

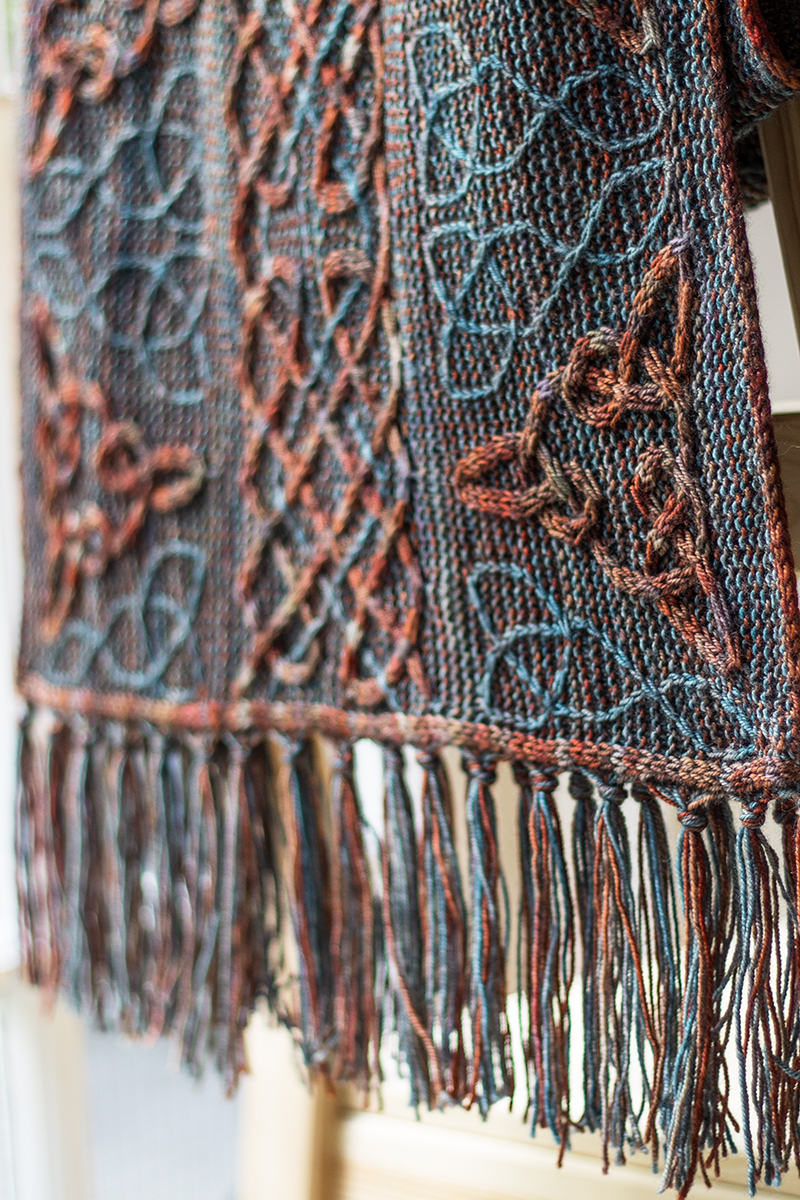
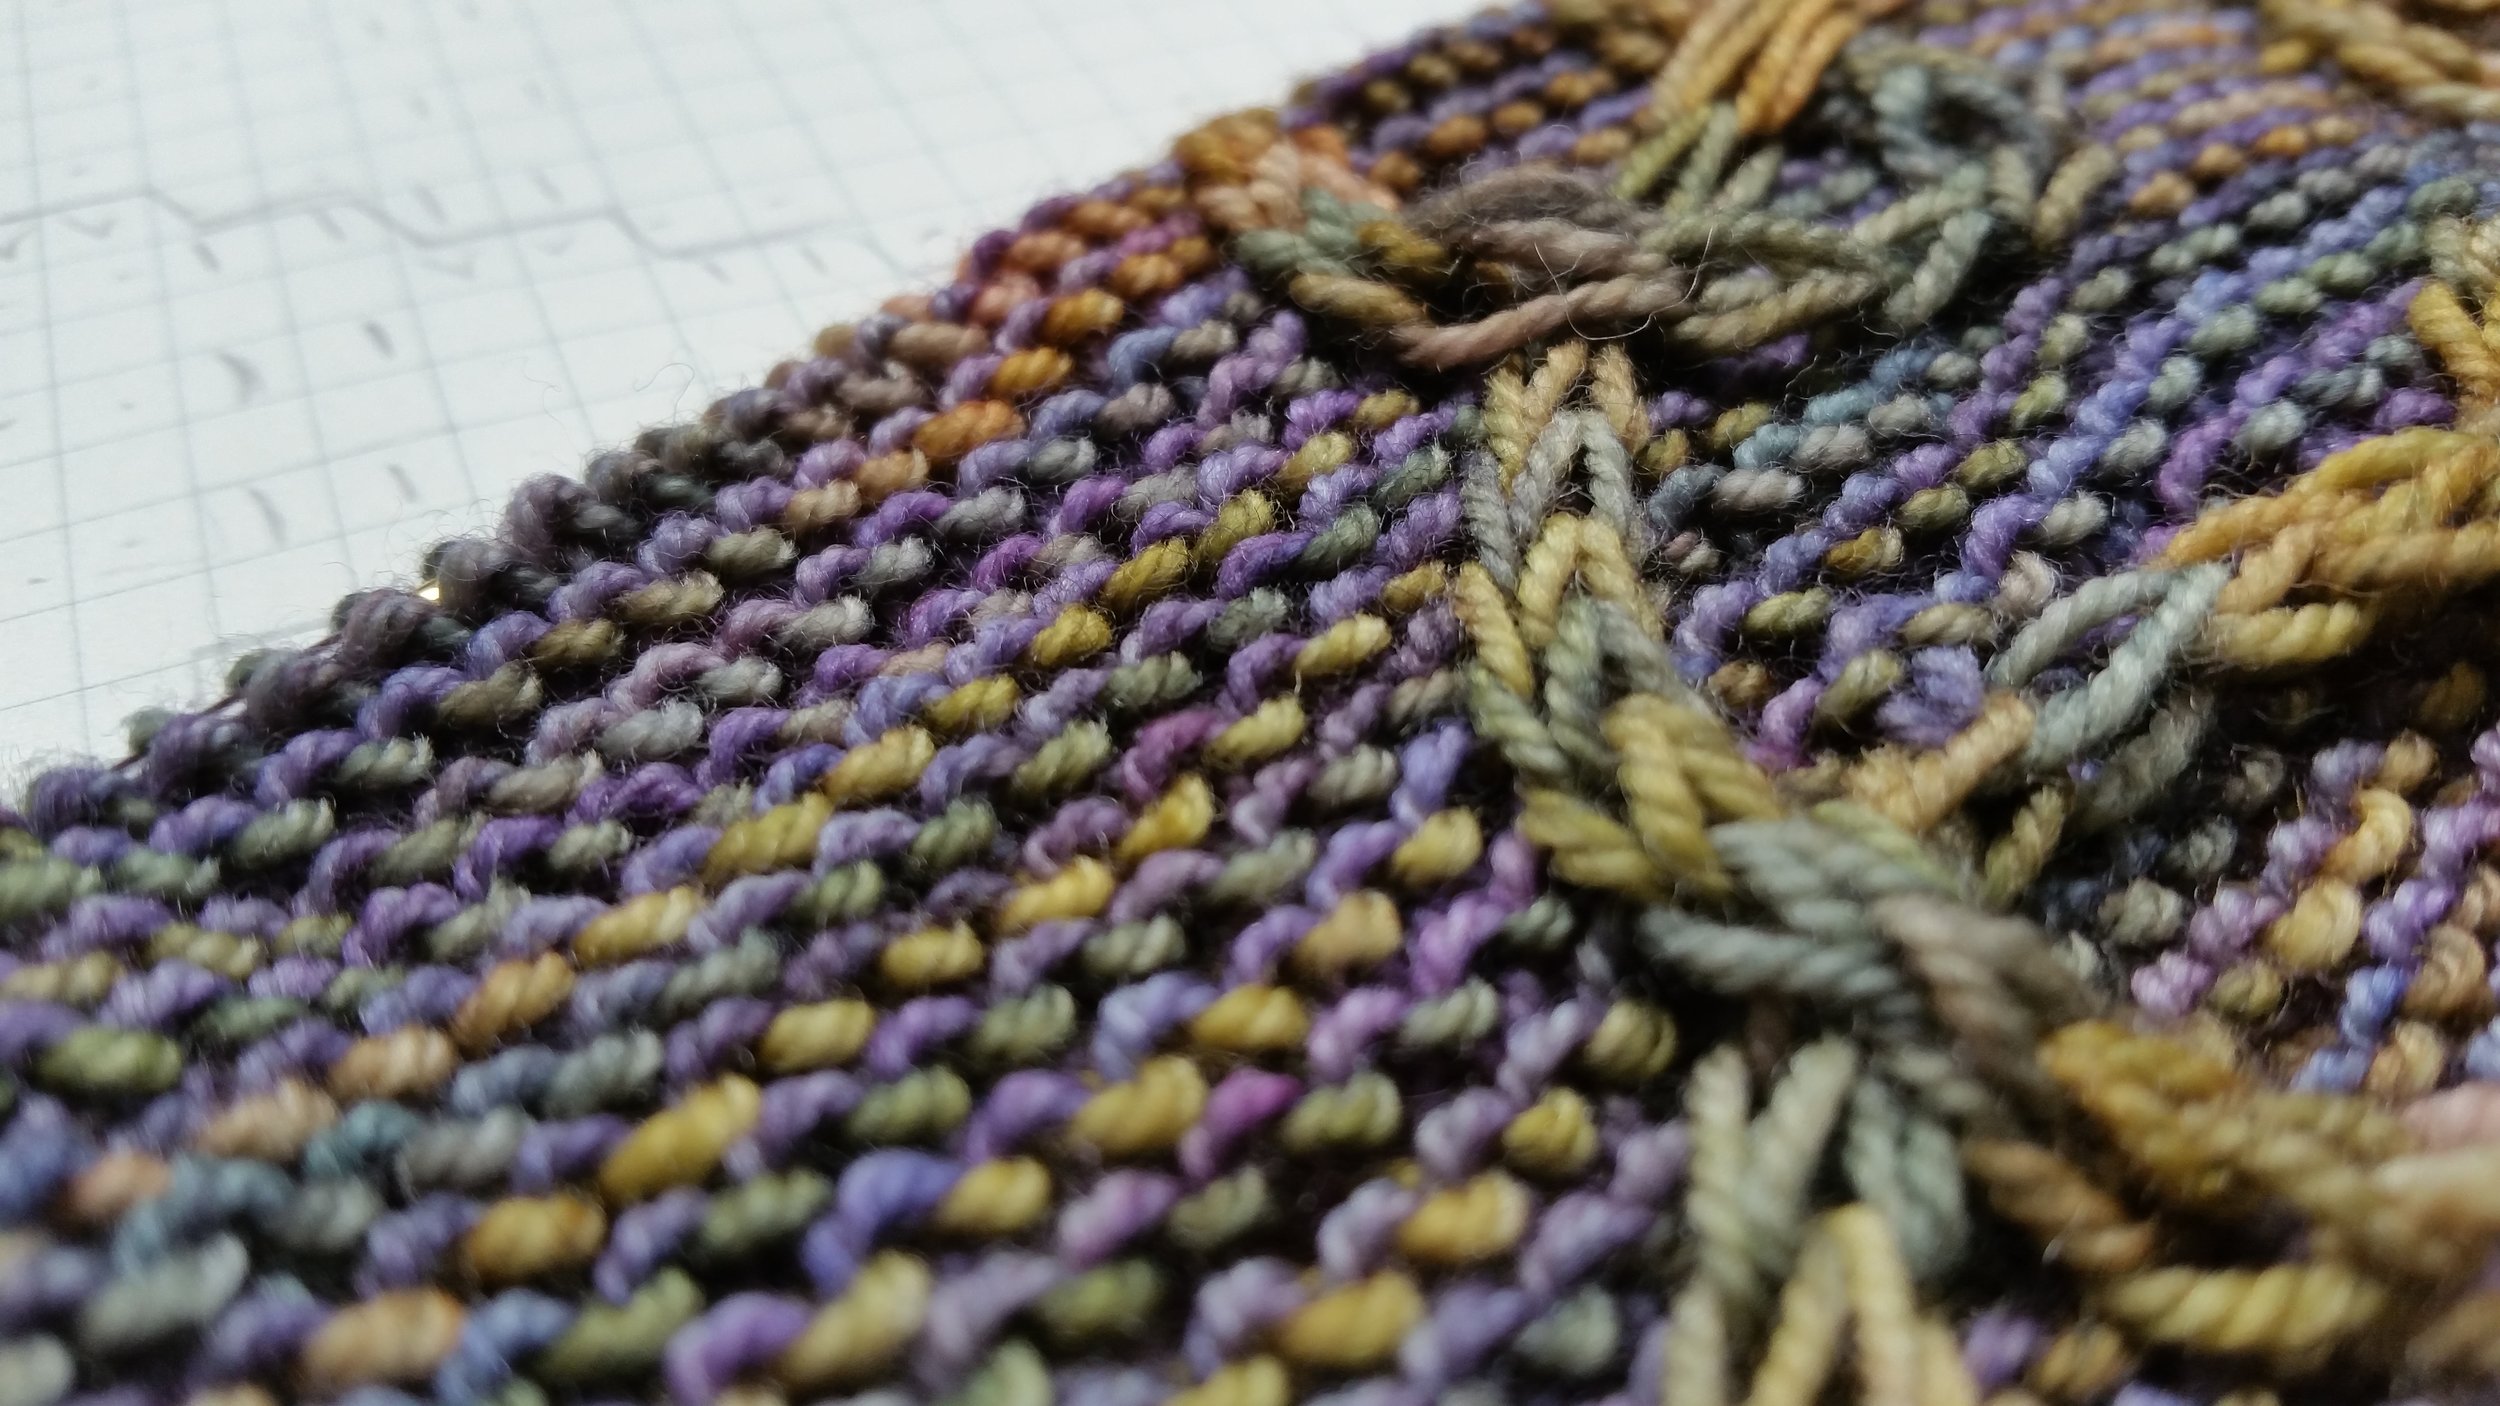
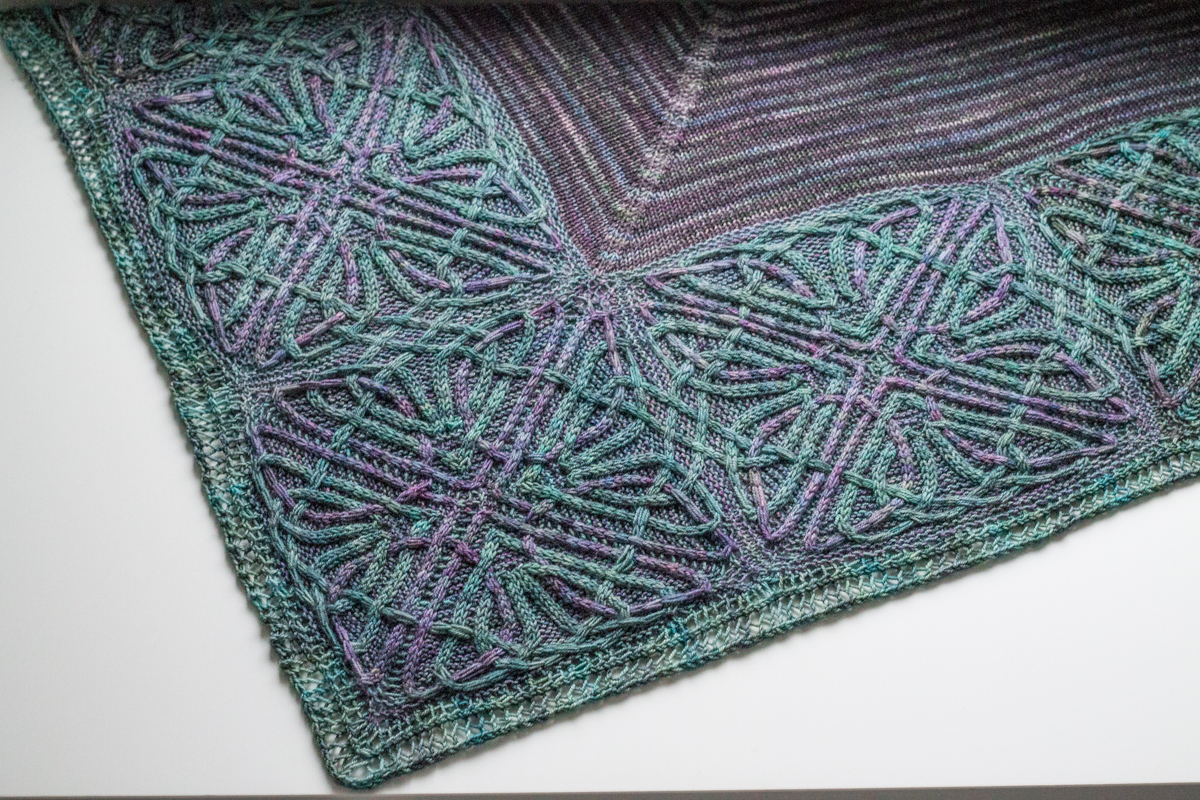
Also, you can see in the above photo how I've used slightly different colours for the background yarn of each square; this creates a nice gradient-type effect, and is one of the fun possibilities that arises from working the border in a series of modular squares. However, I think the border would also look lovely with only one background colour (the main reason I used three was simply because I couldn't choose between them!).

This construction schematic shows the order of centre-out and centre-in squares, with the arrows showing the direction of knitting:

durrow-construction

You may remember earlier, when I was describing the problem with using this slipped stitch technique whilst knitting flat... well, I ran into this problem when trying to design knots for the corners (the corners are the bits at either end of the border, shown in both the above and the following schematics):

durrow-schematic

I decided to only continue the main cable pattern to the corners, and drop the self-contained background cable (a sacrifice to try to keep the level of complexity down! It would have been possible to include the background cable too, but I tried knitting it myself and nearly tore my hair out, so I figured other knitters might also find it a bit frustrating). The difficulty arises because these corners need to be knitted flat (you start from the outside and work decreases inwards to make the right-angle triangle shape, rather like the body of the shawl but in miniature). So, to get the working yarn to end up in the right place so that you can change colour every row (instead of every 2 rows), you need to work 2 RS rows followed by 2 WS rows. This makes some WS cables necessary, but I was able to write the pattern in such a way that these are kept to a minimum.

durrow-mid-res-15

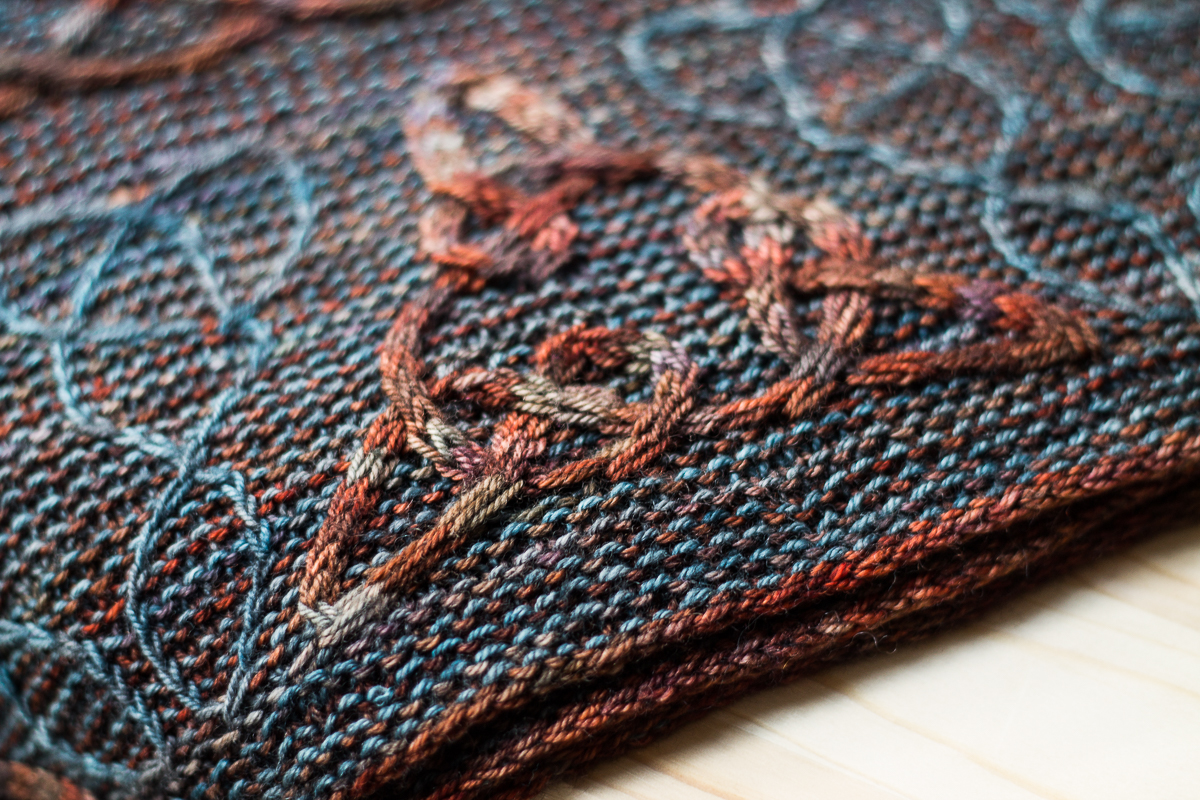
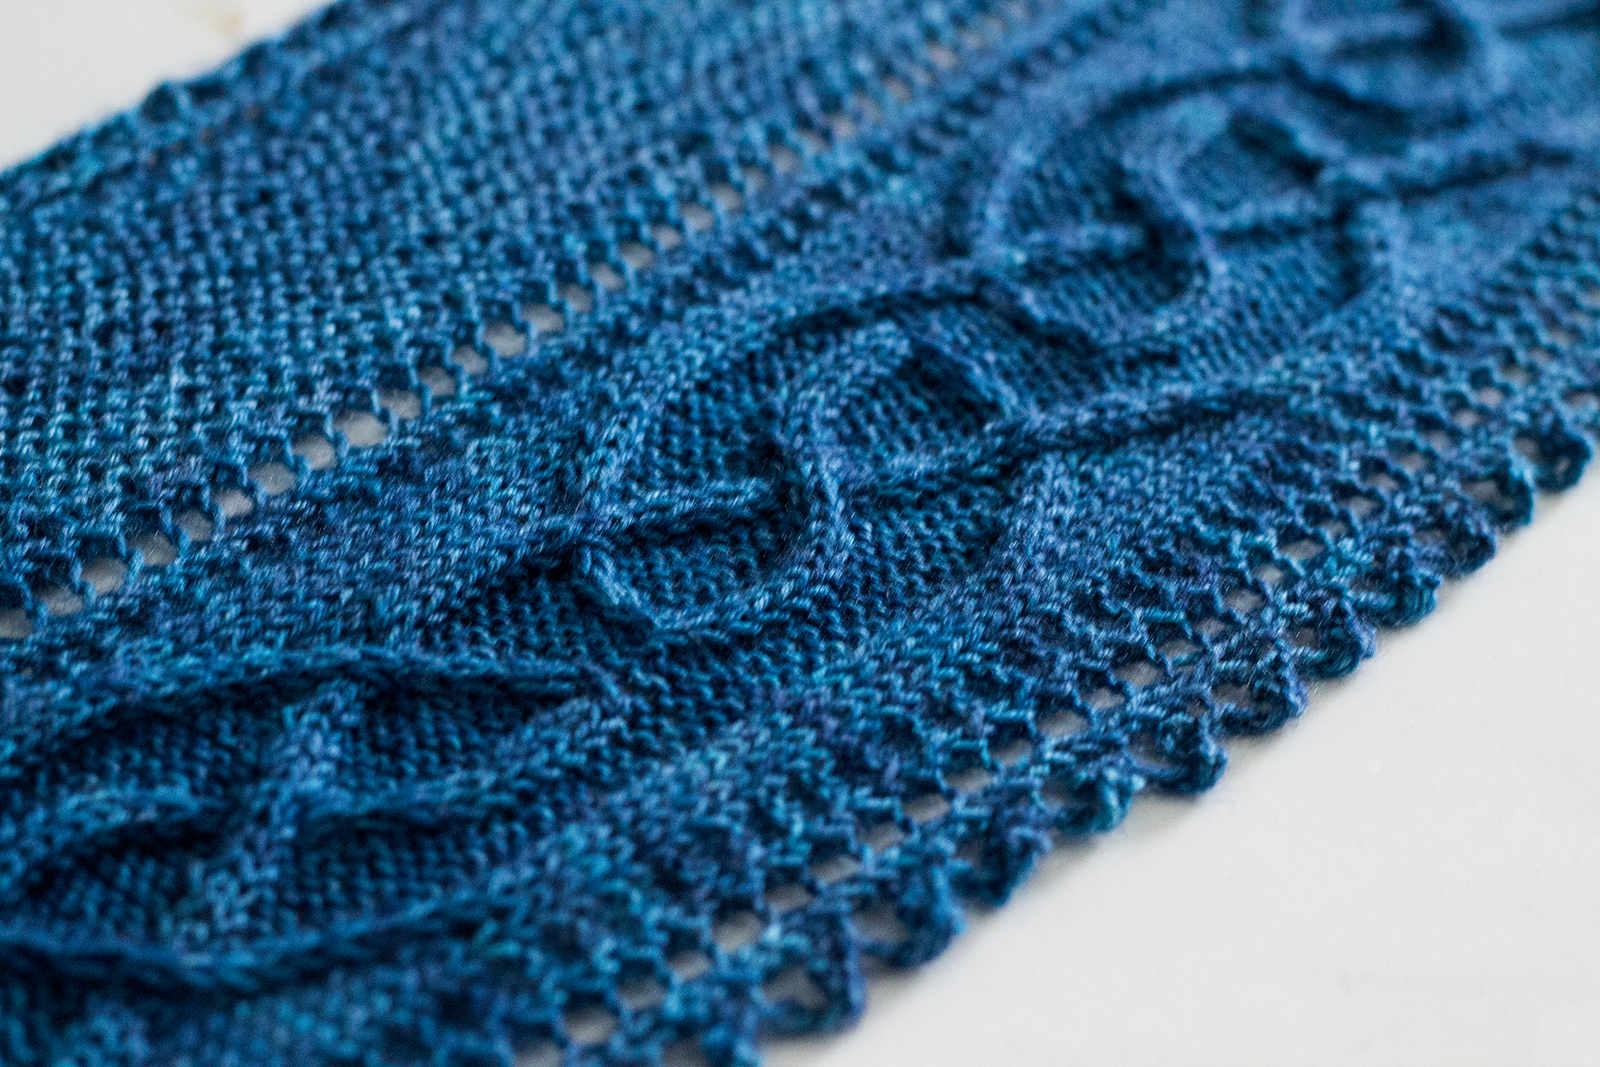
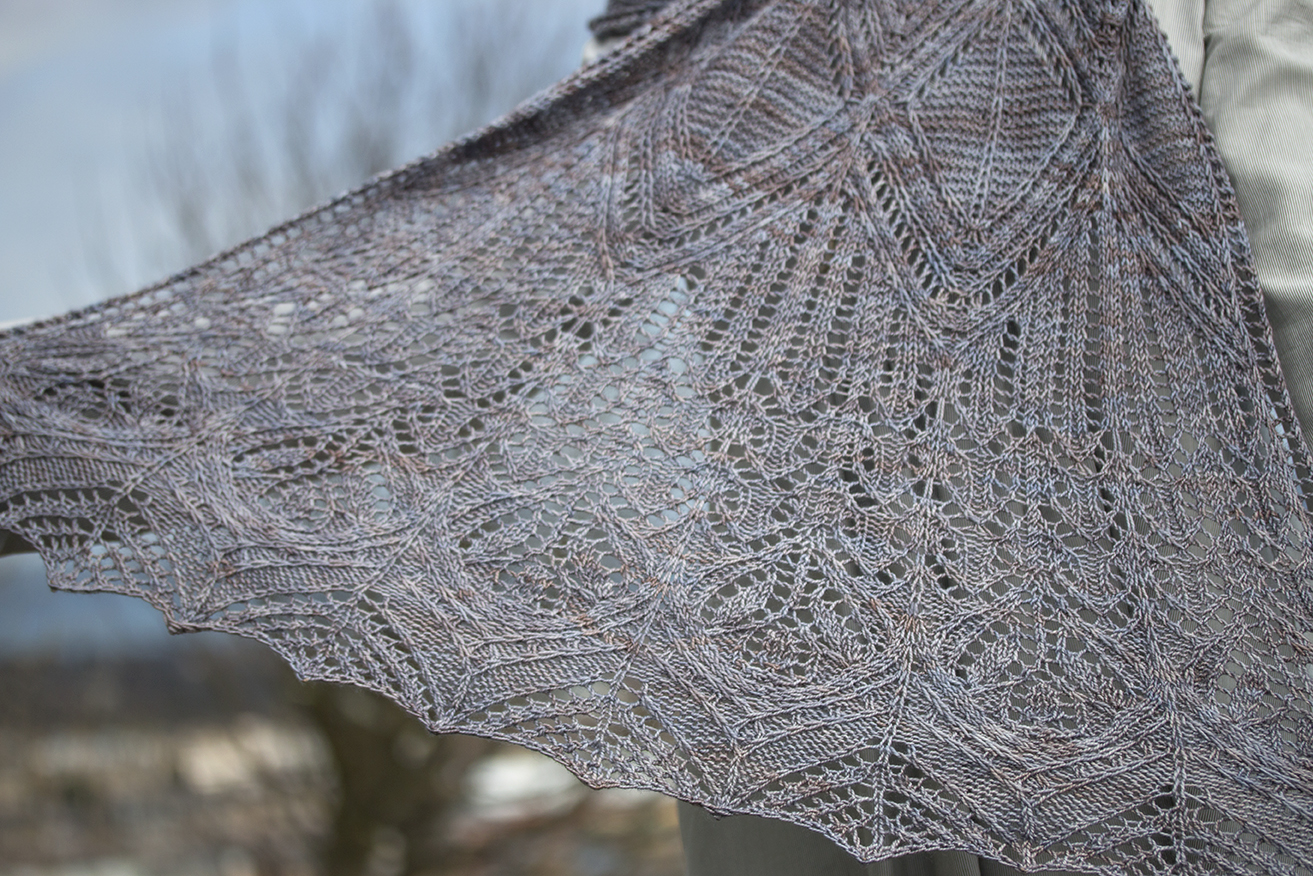
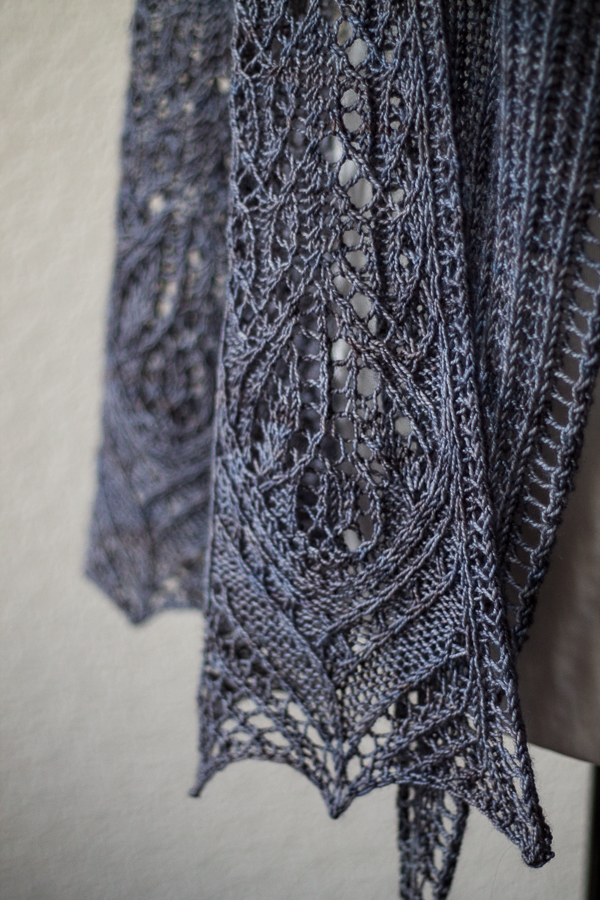
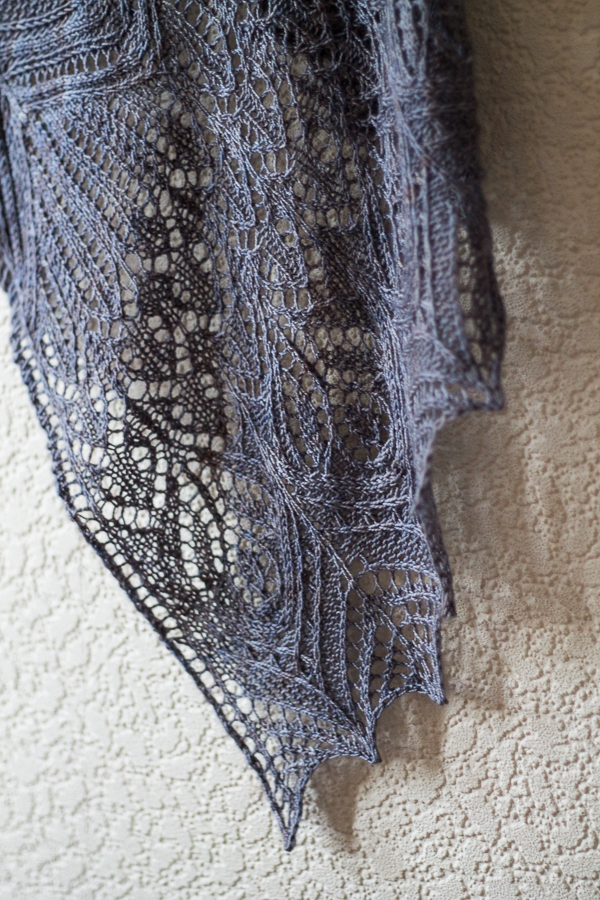
After the border has been knitted, and the body picked up along the edges and worked upwards with decreases towards the neck edge, the top edge is finished with an i-cord cast-off and the outer border edge is finished with a lace edging (both visible in the above photo).

durrow-mid-res-5

After spending so long on perfecting the design of this shawl, I felt a sense of melancholy (mixed with a bit of relief!) when I cast off the last stitch. It always feels a bit strange to finish such a large and complex project, but I'm looking forward to diving into my next (and final) Illuminated Knits design.

I will be exhibiting the sample of Durrow (along with most of my other knitted samples!) at the upcoming Edinburgh Yarn Festival (March 10th and 11th). I'll be at stand J1 in the marketplace, so please come and say hi if you see me!

Save

Lindisfarne shawl

Yesterday I was really pleased to finally be able to launch Lindisfarne, the second pattern in Illuminated Knits...

Lindisfarne is a large rectangular shawl, with an interesting construction. It's worked in the round, with a steek, then cut open at the end to produce fringed edges.

lindisfarne-mid-res-22

The shawl is worked from one side to the other, starting with a provisional cast-on and the edges are finished with an i-cord cast-off.

lindisfarne-mid-res-4

Like the first pattern in Illuminated Knits (the Iona blanket), this pattern makes extensive use of slipped-stitch cable colourwork. I've really fallen in love with this technique, because it makes it so easy to get the effects of colourwork without having to resort to stranded knitting or intarsia (having devoted so much time to working with cables and lace, I'm a woefully underdeveloped colourwork knitter, all fingers and thumbs!). I took the technique a bit further with this design, by incorporating cable patterns in both of the shades used to stripe the background. The heavier weight cables are in Malabrigo Sock Marte and the delicate twisted stitch cables are in Malabrigo Sock Persia.

lindisfarne-mid-res-13

In the central braid that runs down the length of the shawl, the twisted stitch cables wind in and out of the heavier cables. This is one of those marvellous knitting tricks that looks like it would involve fiddling around in a hopeless tangle with lots of balls of yarn at once - but magically, there is still only one strand of yarn being used on each round. I also managed to write the pattern in such a way that there are quite a few rest rounds - most of the cabling takes place on rounds where Marte is the main yarn, and the cables are worked for the twisted stitch cables by simply slipping them into position. On the next round, all that's required is to k tbl.

lindisfarne-mid-res-16

Above is a close-up of the fringe, after the steek has been cut and unravelled, blocked and then neatly knotted at regular intervals. I really love the effect of the two shades of yarn mingled together; it really gives the effect of a piece that has been woven, rather than knitted.

Another benefit of using slipped-stitch colourwork is that the back of the shawl looks really neat - just like striped garter stitch. There's something very satisfying about looking on the reverse side of a complex multi-coloured piece, and being surprised by the complete lack of floats!

As with the Iona blanket, this design was an absolute monster to design, plan, knit and write up - it was several months in the making and went through a lot of permutations before settling into its final form. Originally I had envisaged the shawl being covered in a repeating pattern of triangular knots, inspired by a knot from the Lindisfarne manuscript. It was quite late in the design process when I suddenly had the vision of the central braid, with the twisted stitch cables lacing in and out. I had to rewrite the design to fit it in, but I think it was worth it in the end!

Here's a few pics of the design in progress (note my utter inability to settle on a colour scheme!):


Dunedin shawl

Today I'm excited to announce the release of Dunedin as a PDF download! dunedin-mid-res-7

Dunedin was originally designed for the Edinburgh Yarn Festival 2016 companion magazine, Wool Tribe, which was on sale at the festival back in March and was a great hit, selling out very quickly. Unfortunately, due to the speed with which we got the magazine together, some errors crept in to the pattern - so I'm very pleased to finally be able to offer a corrected and revised version of this pattern! If you have bought the original Wool Tribe magazine and are having difficuties completing Dunedin, please just get in touch with me at lucy@lucyhague.co.uk and I'll be happy to send you a free copy of the updated version of this pattern (and to help you with any queries you might have).

This shawl features a cabled border, which is worked first, then a shallow half-circular body which is worked upwards from the border and shaped with a combination of short rows and decreases. The version pictured uses approx. 1 100g skein of 4-ply/fingering weight yarn; this newly edited and revised version of the pattern also includes a larger semi-circular sized shawl, which uses approx. 2 100g skeins of 4-ply/fingering weight yarn.

The design process for this shawl was unexpectedly very difficult (partly due the time constraints!) and involved quite a few sleepless nights as I tried to get all the calculations correct and finish the sample in time for it to be photographed for the magazine. Whilst the cable pattern is pretty simple compared to many of my designs, the short row calculations proved to be something of a nightmare to calculate correctly in order to get the shape I wanted - a very shallow-half circle that curves around the shoulders, somewhere between a scarf and a shawl.

I had to rip out and reknit the body section so, so many times to get it right, but I'm glad I persevered, because the final shape is exactly what I wanted. In fact, I think out of all the shawls I've made, this is the one I enjoy wearing the most! If you saw me at Edinburgh Yarn Festival this year, you may have noticed me wearing it.

Which reminds me - here's a silly picture of my friend Graeme and I at EYF 2016! (I'm wearing Dunedin and he's wearing a Jayne Firefly hat that I made him for his birthday).

IMG_7524-resize.jpg

And, also at EYF 2016, here I am with the lovely Karie Westermann (Karie is wearing her Burnet hat, also featured in Wool Tribe).

img_7527-resize

I'd like to close this post by thanking the EYF team for getting me involved in Wool Tribe, and thanks also to Helen of Ripples Crafts for providing the yarn for this shawl (it's her Quinag Bluefaced Leicester 4-ply in 'Stormy Seas' - the most beautiful teal-blue I think I've ever seen!).


The Book of Haps - Uncia

Today I can finally reveal to you my design for Kate Davies' The Book of Haps... Uncia is an unusually shaped shawl, based on a 1/12th arc shape and inspired by Gothic and Romanesque cathedral architecture.

Lucy8 copy

Lucy1 copy

The pictures for the book were taken on Calton Hill, Edinburgh (not far from where I live, in fact!)

I developed the cable and lace patterns based on cathedrals I visited last summer whilst travelling around France and Germany (in particular: Koln, Mont Saint-Michel and Carcassonne). It was a very fun challenge to try to capture the essence of these buildings in knitted stitches, and it’s probably something I’ll come back to in the future.

Here's a few pictures of Uncia that I took myself, to show a little of the detail in the lace edging...


It was a real honour to be asked to contribute to this book, and to be featured amongst such a wonderfully varied and illustrious group of designers. Thanks to Kate and Jen, and all the team involved in bringing this book to life!

We'll be having a book launch at Kathy's Knits, Edinburgh, on Saturday June 11th (which coincides with the Indie Burgh Yarn Crawl!). Kate, Jen and myself will be there, along with some of the hap samples, and we'll be signing copies of the book, so if you're in/near Edinburgh, please do come along!

cjhot7sxaaquq